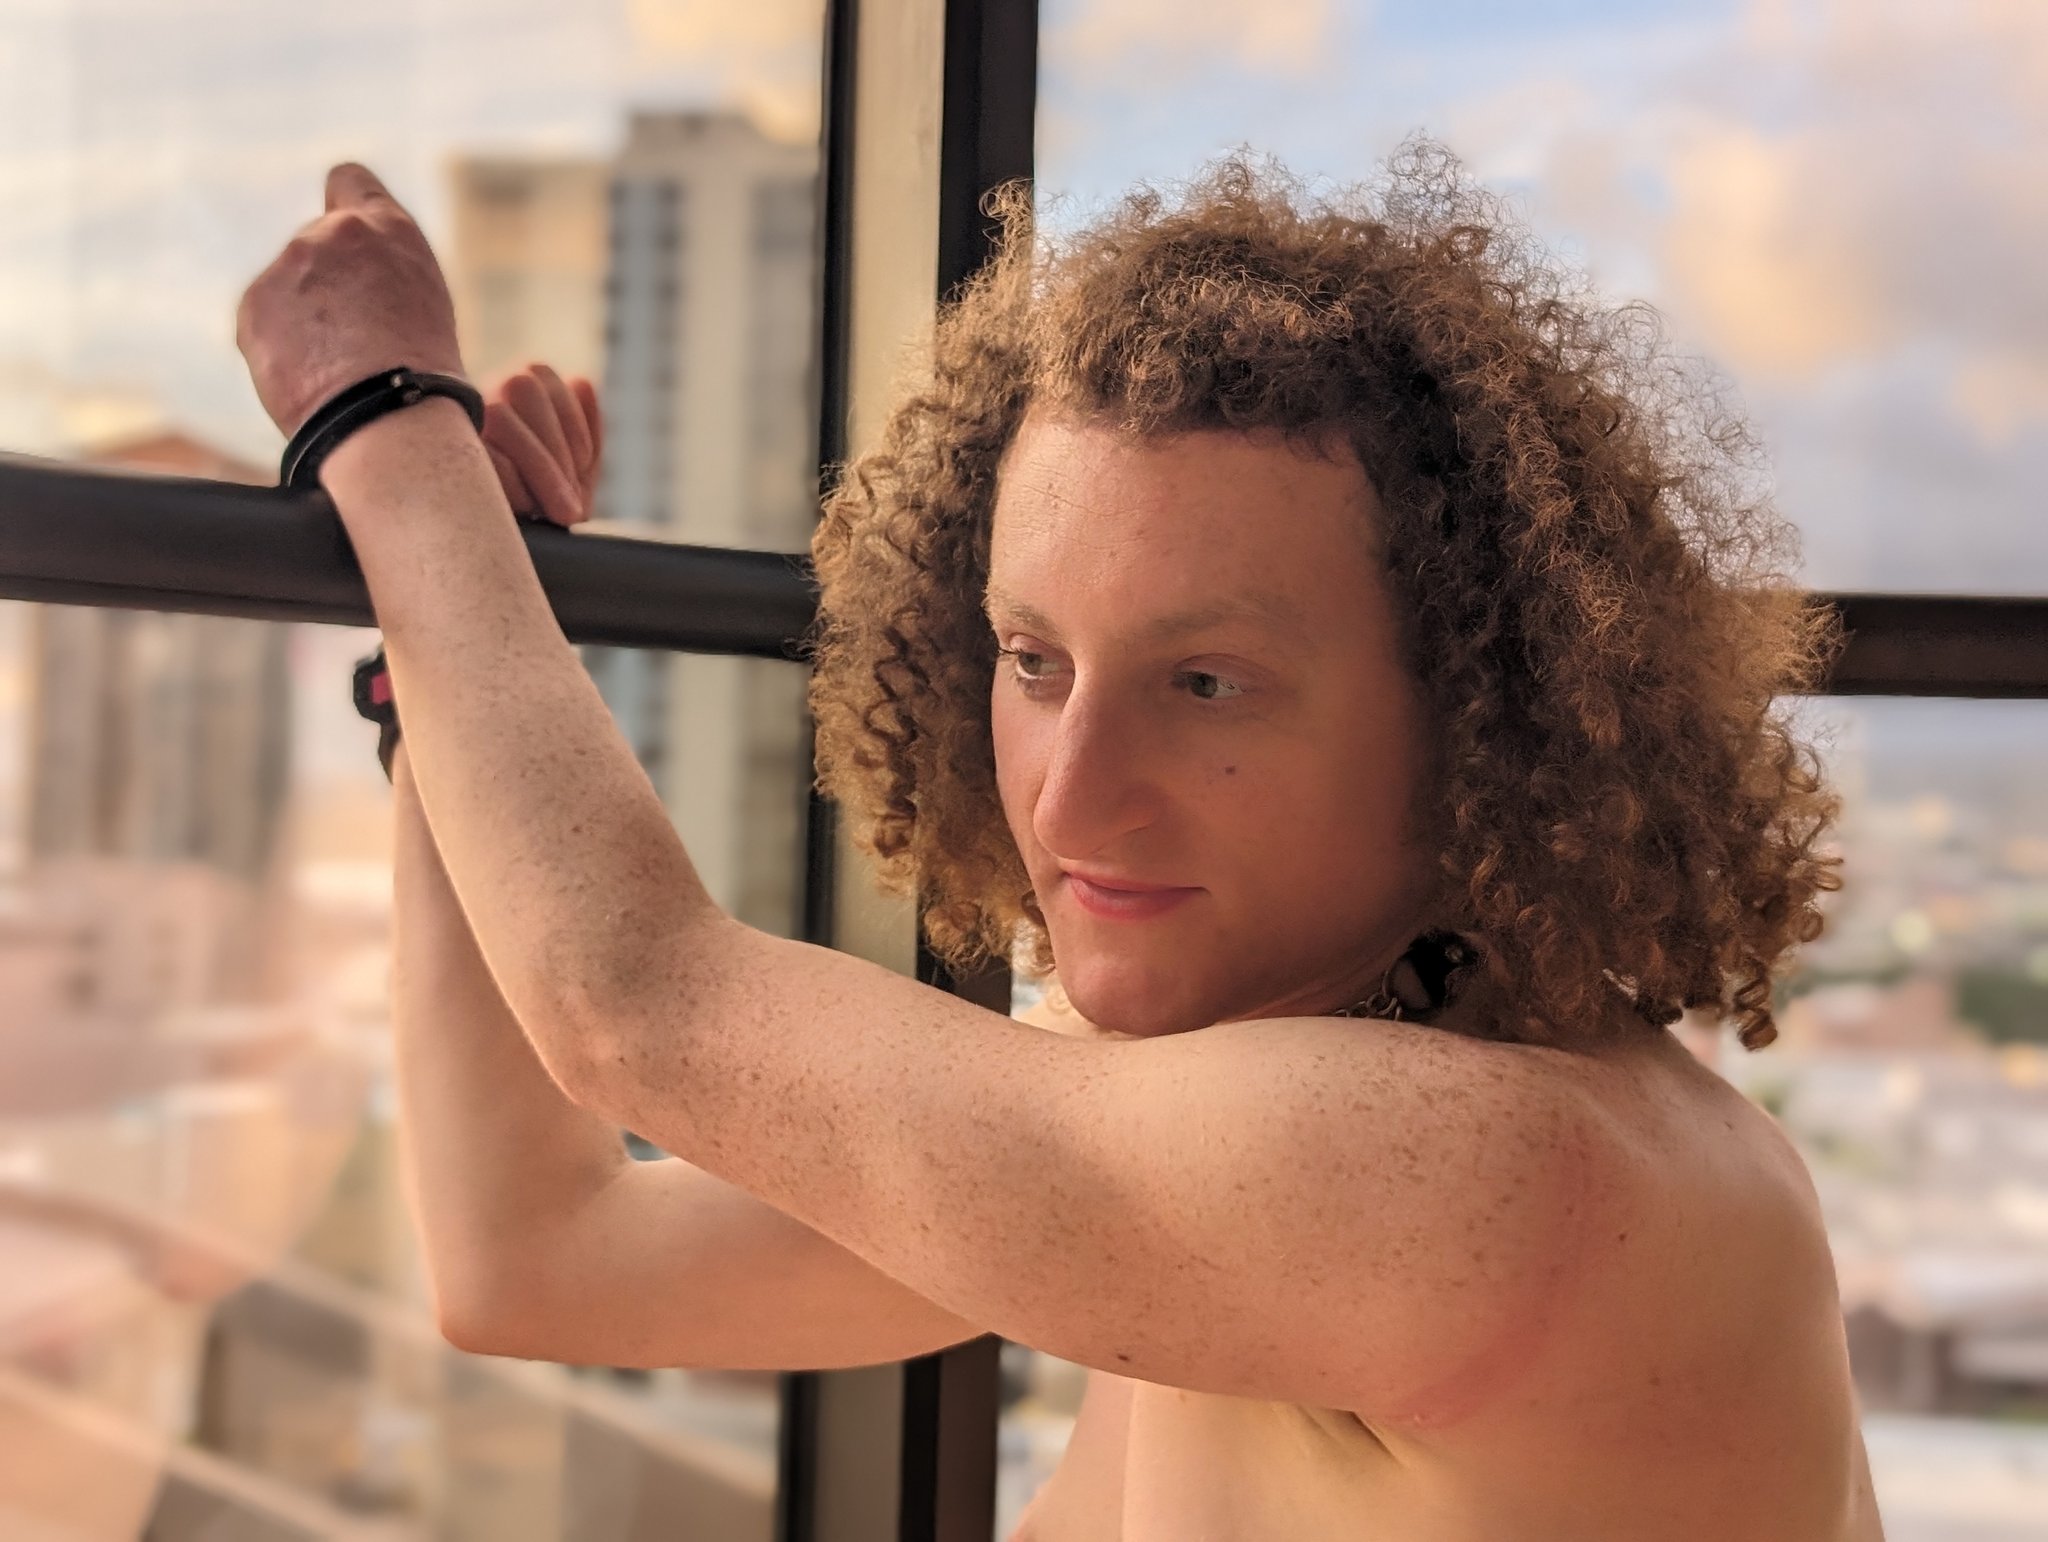

Mylo Ryn
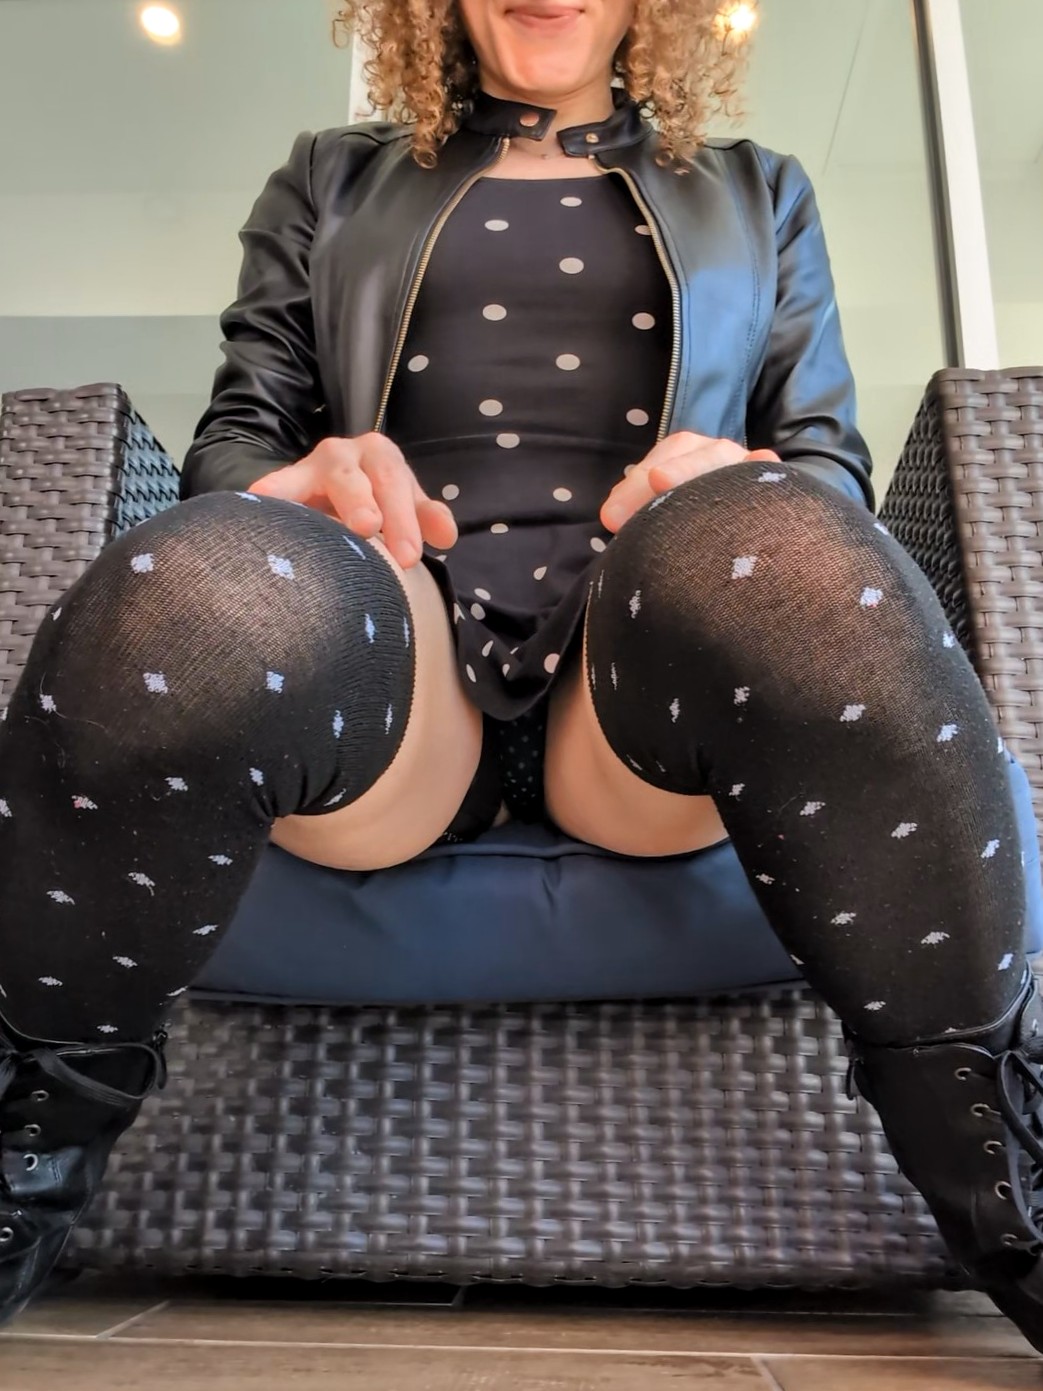
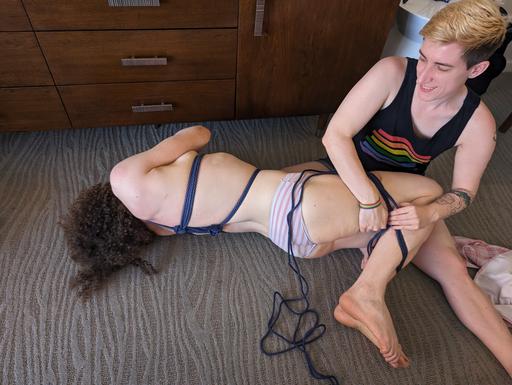
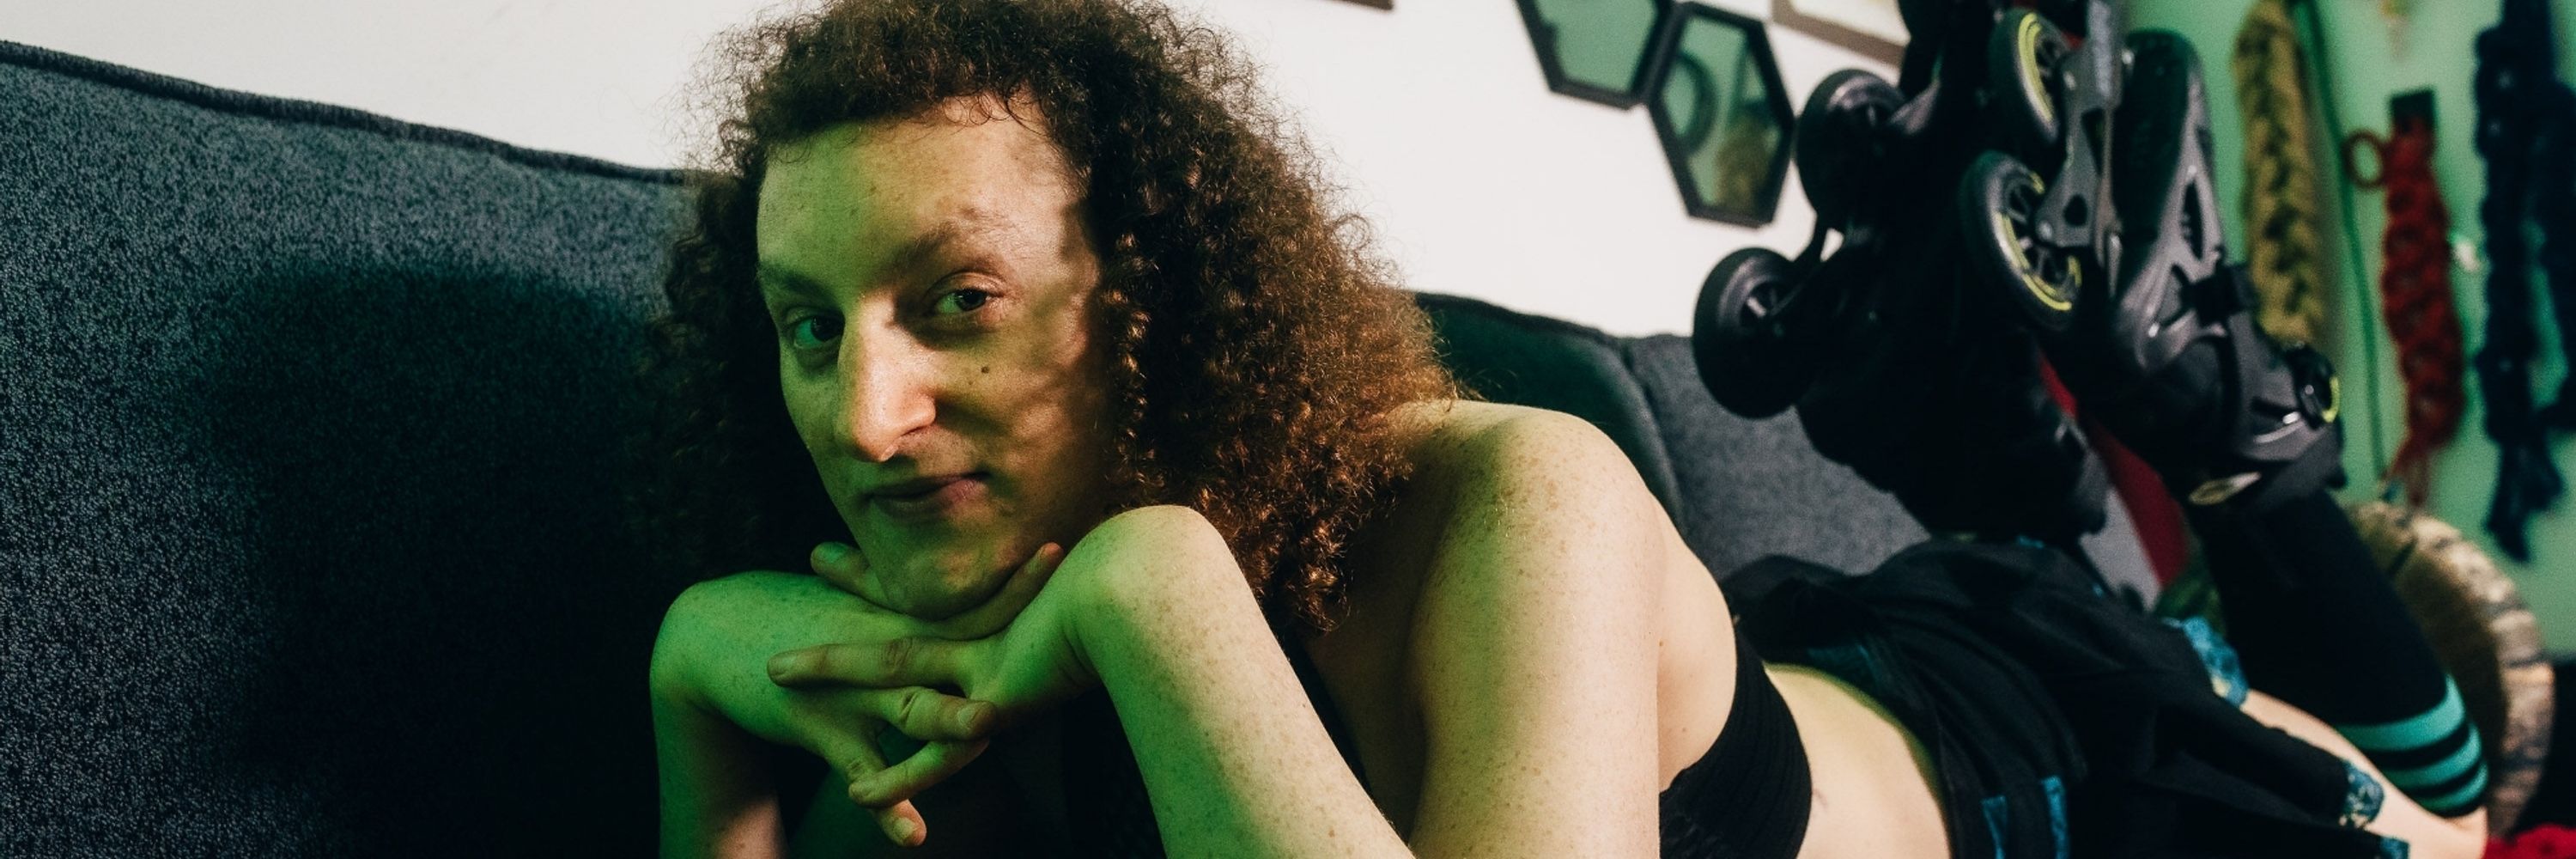
Dominant trans masc twink
Silly and sassy rollerblading adventurer. Tattooed and travel-sized companion. Sexually verse. Always dominant. As seen in porn tying and locking up cute subby trans girls.

A face-in provider is any sex worker who does not show their face on social media, in advertising photos, or in content they create.
There are many reasons why a provider may want to remain face-in. Most of them come down to feelings of safety or exclusivity of access. Remaining face-in also helps some providers go unnoticed when on dates in public.
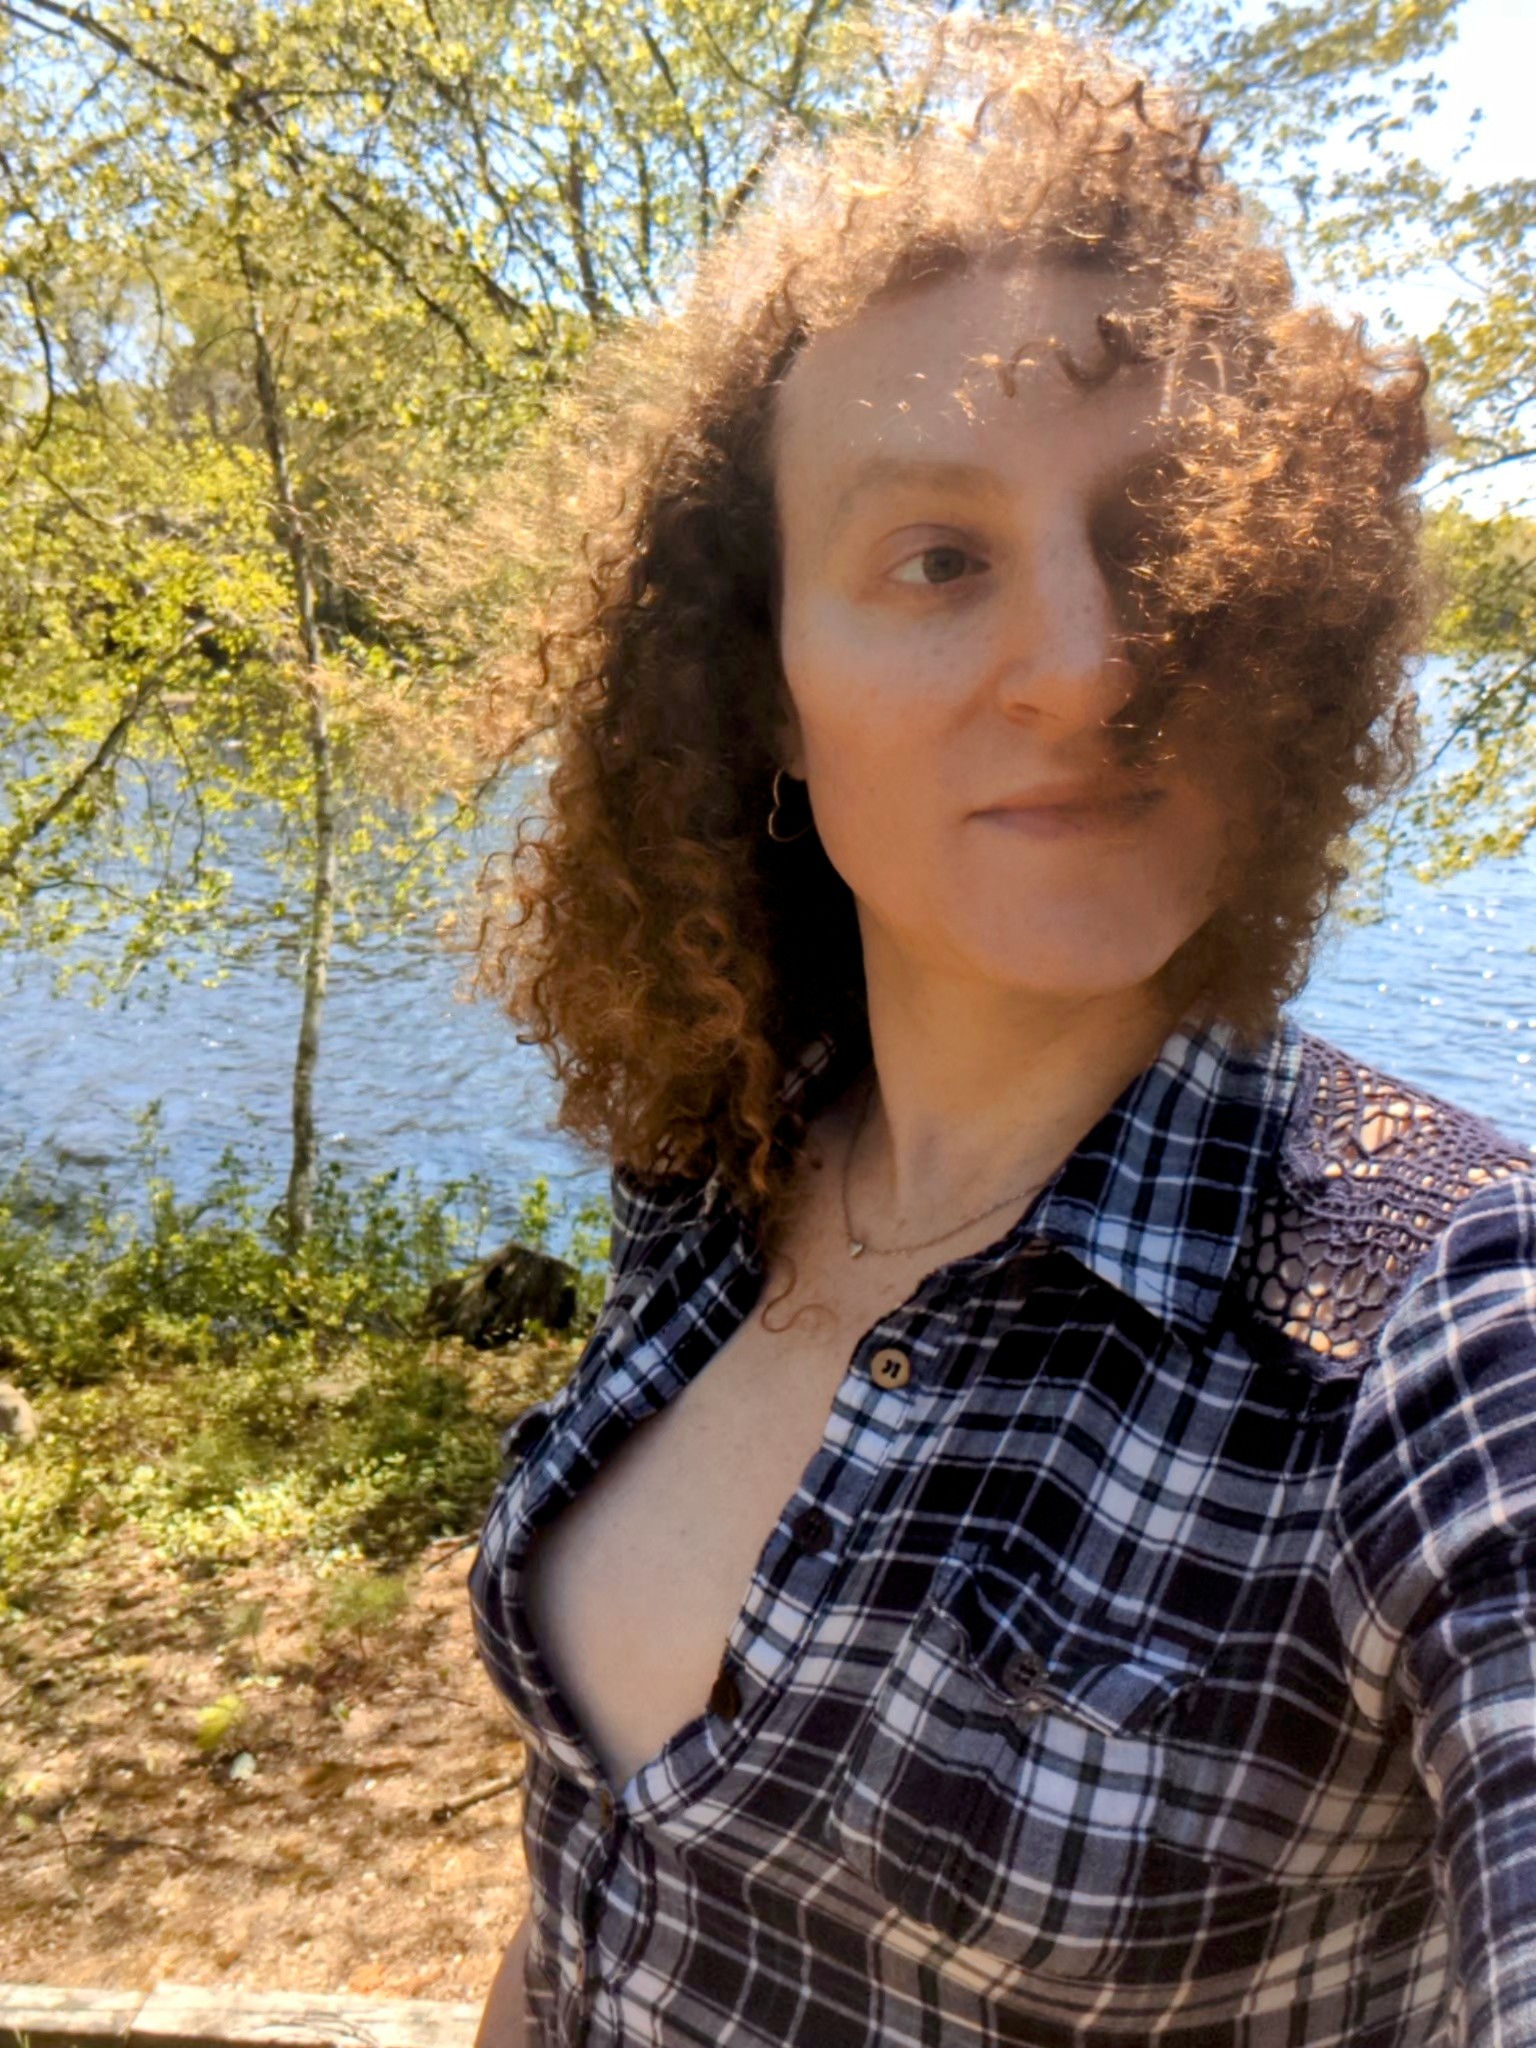
Other providers either don’t have this luxury, or choose not to hide this part of their identity. For example, for better or worse, I’m undeniably recognizable and memorable. Moreover, as a trans provider, obscuring my face could make potential clients shy away from booking me for fear that my face isn’t “womanly” enough.
Regardless of why we might show our faces, the fact that we do makes us face-out providers.
Despite being a face-out provider myself, many colleagues consider me one of the most cyber-secure sex workers in the world today. As a result, I routinely get asked numerous digital safety and online privacy questions about how to stay safe and pseudonymous online.
Here’s my advice for remaining face-in during this age of increasing state surveillance and advancements in facial recognition technology.
Most face-in providers who fail to protect their identity in photos (i.e., the ones who get doxxed in this manner) fail simply because they don’t remove enough information from the original pic. And they don’t remove enough info simply because they underestimate the amount of information in the photo in the first place.
It’s worth pointing out that the photos our cameras take today are incredibly high-resolution recordings. In other words, you can zoom in on the pictures you take to what was once an astonishing degree of detail simply because there is so much information packed into the file that makes up the pic.
When you snap a picture with your iPhone 17 and its 48 megapixel camera, for example, you’re recording a huge amount of information! Point that camera at your face, and that information can often uniquely identify you even if lighting conditions change or you wear different makeup the next day. That’s basically how Apple’s Face ID (and all other facial recognition technology) works, after all.
If there were less detail recorded in the image, wearing more or less makeup or moving to a room with darker lighting might confuse something like Face ID, but that’s not true anymore. Facial recognition technology is as good as it is largely because there is just so much detail in the original photo. It comes as no surprise, then, that remaining face-in is all about removing identifying information from the photo before you share or post it.
The more information you remove, the harder it is to use the info left in the photo to identify you.
It’s important to recognize that there is more information in a digital photo than just the pixels you can see on your screen.
Depending on the camera you use to take the photo, metadata about the photo is often written into the file’s invisible areas (sometimes called file headers or exchangeable image file format, or Exif, information). This can include details about the make and model of the camera that took the photo, the date and time the photo was taken, or the GPS coordinates of where the image was snapped.
You definitely want to remove this information as well. Thankfully, this is extremely easy to do. Just send the picture to yourself via Signal Private Messenger, which takes care of stripping metadata from files like this for you. For more on this, read my guide, Using Signal to share photos and media.
Be sure you’ve removed this metadata before you move on to obscuring your face in the pixels themselves.
All blur tools work by first reading the original pixel data and then changing their values according to a known and, importantly, generally reversible algorithm.
For example, the most common blur filter is the Gaussian blur. This filter works by averaging the color values of a given pixel area together, which makes dark pixels surrounded by lighter pixels lighter, and lighter pixels surrounded by dark pixels darker. The result is a soft, out-of-focus effect, but it’s an effect whose output was derived entirely from input that was in the original photo itself.
That’s fundamentally different than encryption, which requires input that at no point was in the original source. This is why cryptographers named the omitted information that powers an encryption cipher a “secret key.”
From an information theoretic perspective, since all blurring always uses data present in the original input to create its final output, it is theoretically reversible. That fact holds even though blurring is still a “lossy” process, that is, it results in an artifact with less detail than the original. The loss of detail isn’t what’s important, because that lost information can merely be added back to perfectly recreate the original.
What matters is that rather than being omitted from the start, the original was simply modified in a predictable way.
To (re-)sharpen a photo filtered through a Gaussian blur, you run the blurred pixel area through the inverse process as the blur itself. This darkens the pixels you lightened earlier, and lightens the pixels you darkened earlier. It isn’t perfect, and the more severe the blur, the less perfect this inversion is, but it’s a start.
If you want to take it further, combine this technique with AI that will “guess” at the right pixel color value at each pixel position based on a collection of millions of pictures of faces already in its database. Or, worse, how about using a fine-tuned AI model trained on not one, but all of your blurred selfies?
Perhaps that helps you more intuitively feel why AI-powered unblur tools can work so well!
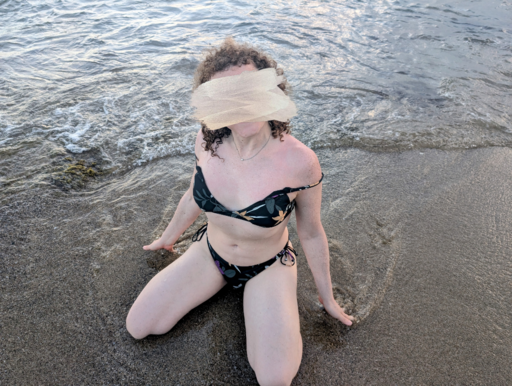
For most face-in providers, the critial thing to do to remain face-in is, well, covering your face! That is, after all, what the term implies.
Covering your face means exactly that: don’t just blur your face, cover it.
You can cover your face in the original photo using a prop like a book, large flower, sunhat, or even the phone with which you’re taking your selfie. By covering your face in the original photo, you no longer need to blur it. This is a great way to defeat photo unblur because you completely sidestep the battle.
It’s also easy to cover your face after the fact, such as by using common image editing software often shipped with your phone to place an emoji, solid-color bar, or any number of other artifacts over your face. Many providers draw elegant strokes atop their faces that make it appear as though the photo itself was painted over with an acrylic brush:
What all of these methods have in common is that they completely overwrite the pixel data in the original photo, ensuring the new output is entirely unrelated to the original input.
Make sure the opacity of your covering artifact is always 100%, so there’s no data leaking through it from the underlying original pixel data. That’s what makes covering your face so much more effective than blurring it.
Obscuring one’s face is intuitively important because a face is arguably the most recognizable part of a given human’s body. But someone determined to dox you will be paying attention to every detail in the photo.
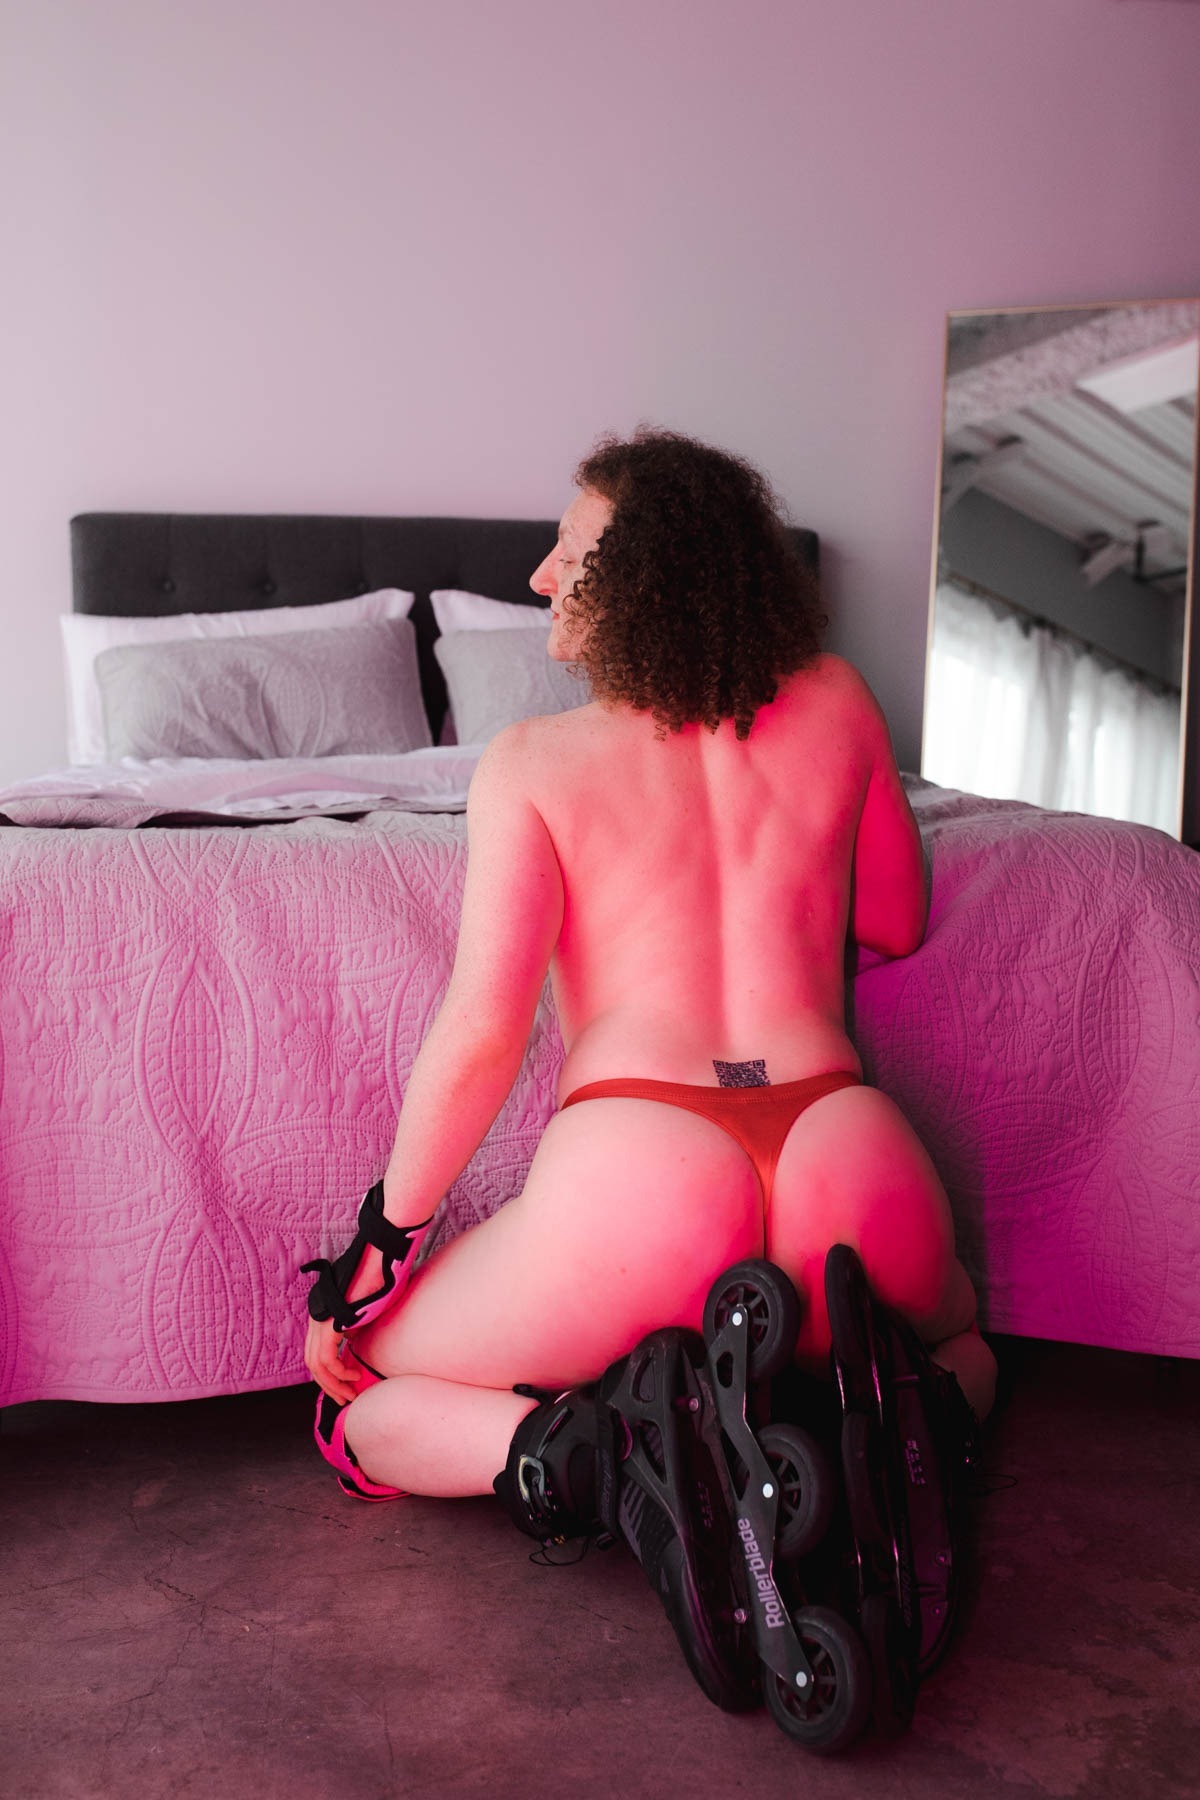
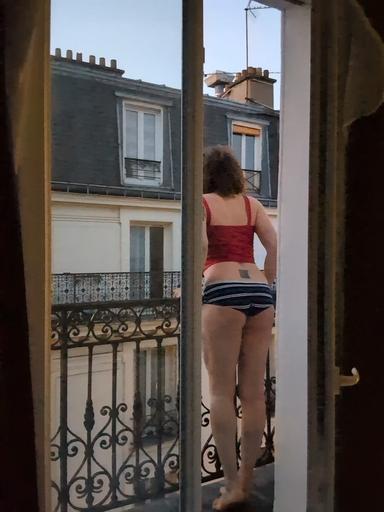
Tattoos, birthmarks, freckles, or even your ears can also be used to identify you. Treat these like your face: remove or cover them in every photo before you post it. While it may stretch the term beyond comfort, we could argue that a “face-in” provider who nevertheless shows a very revealing tattoo is in practice more similar to a face-out provider!
Once you’ve ensured your media truly keeps you face-in, you should next consider what other identifying information is in your photo.
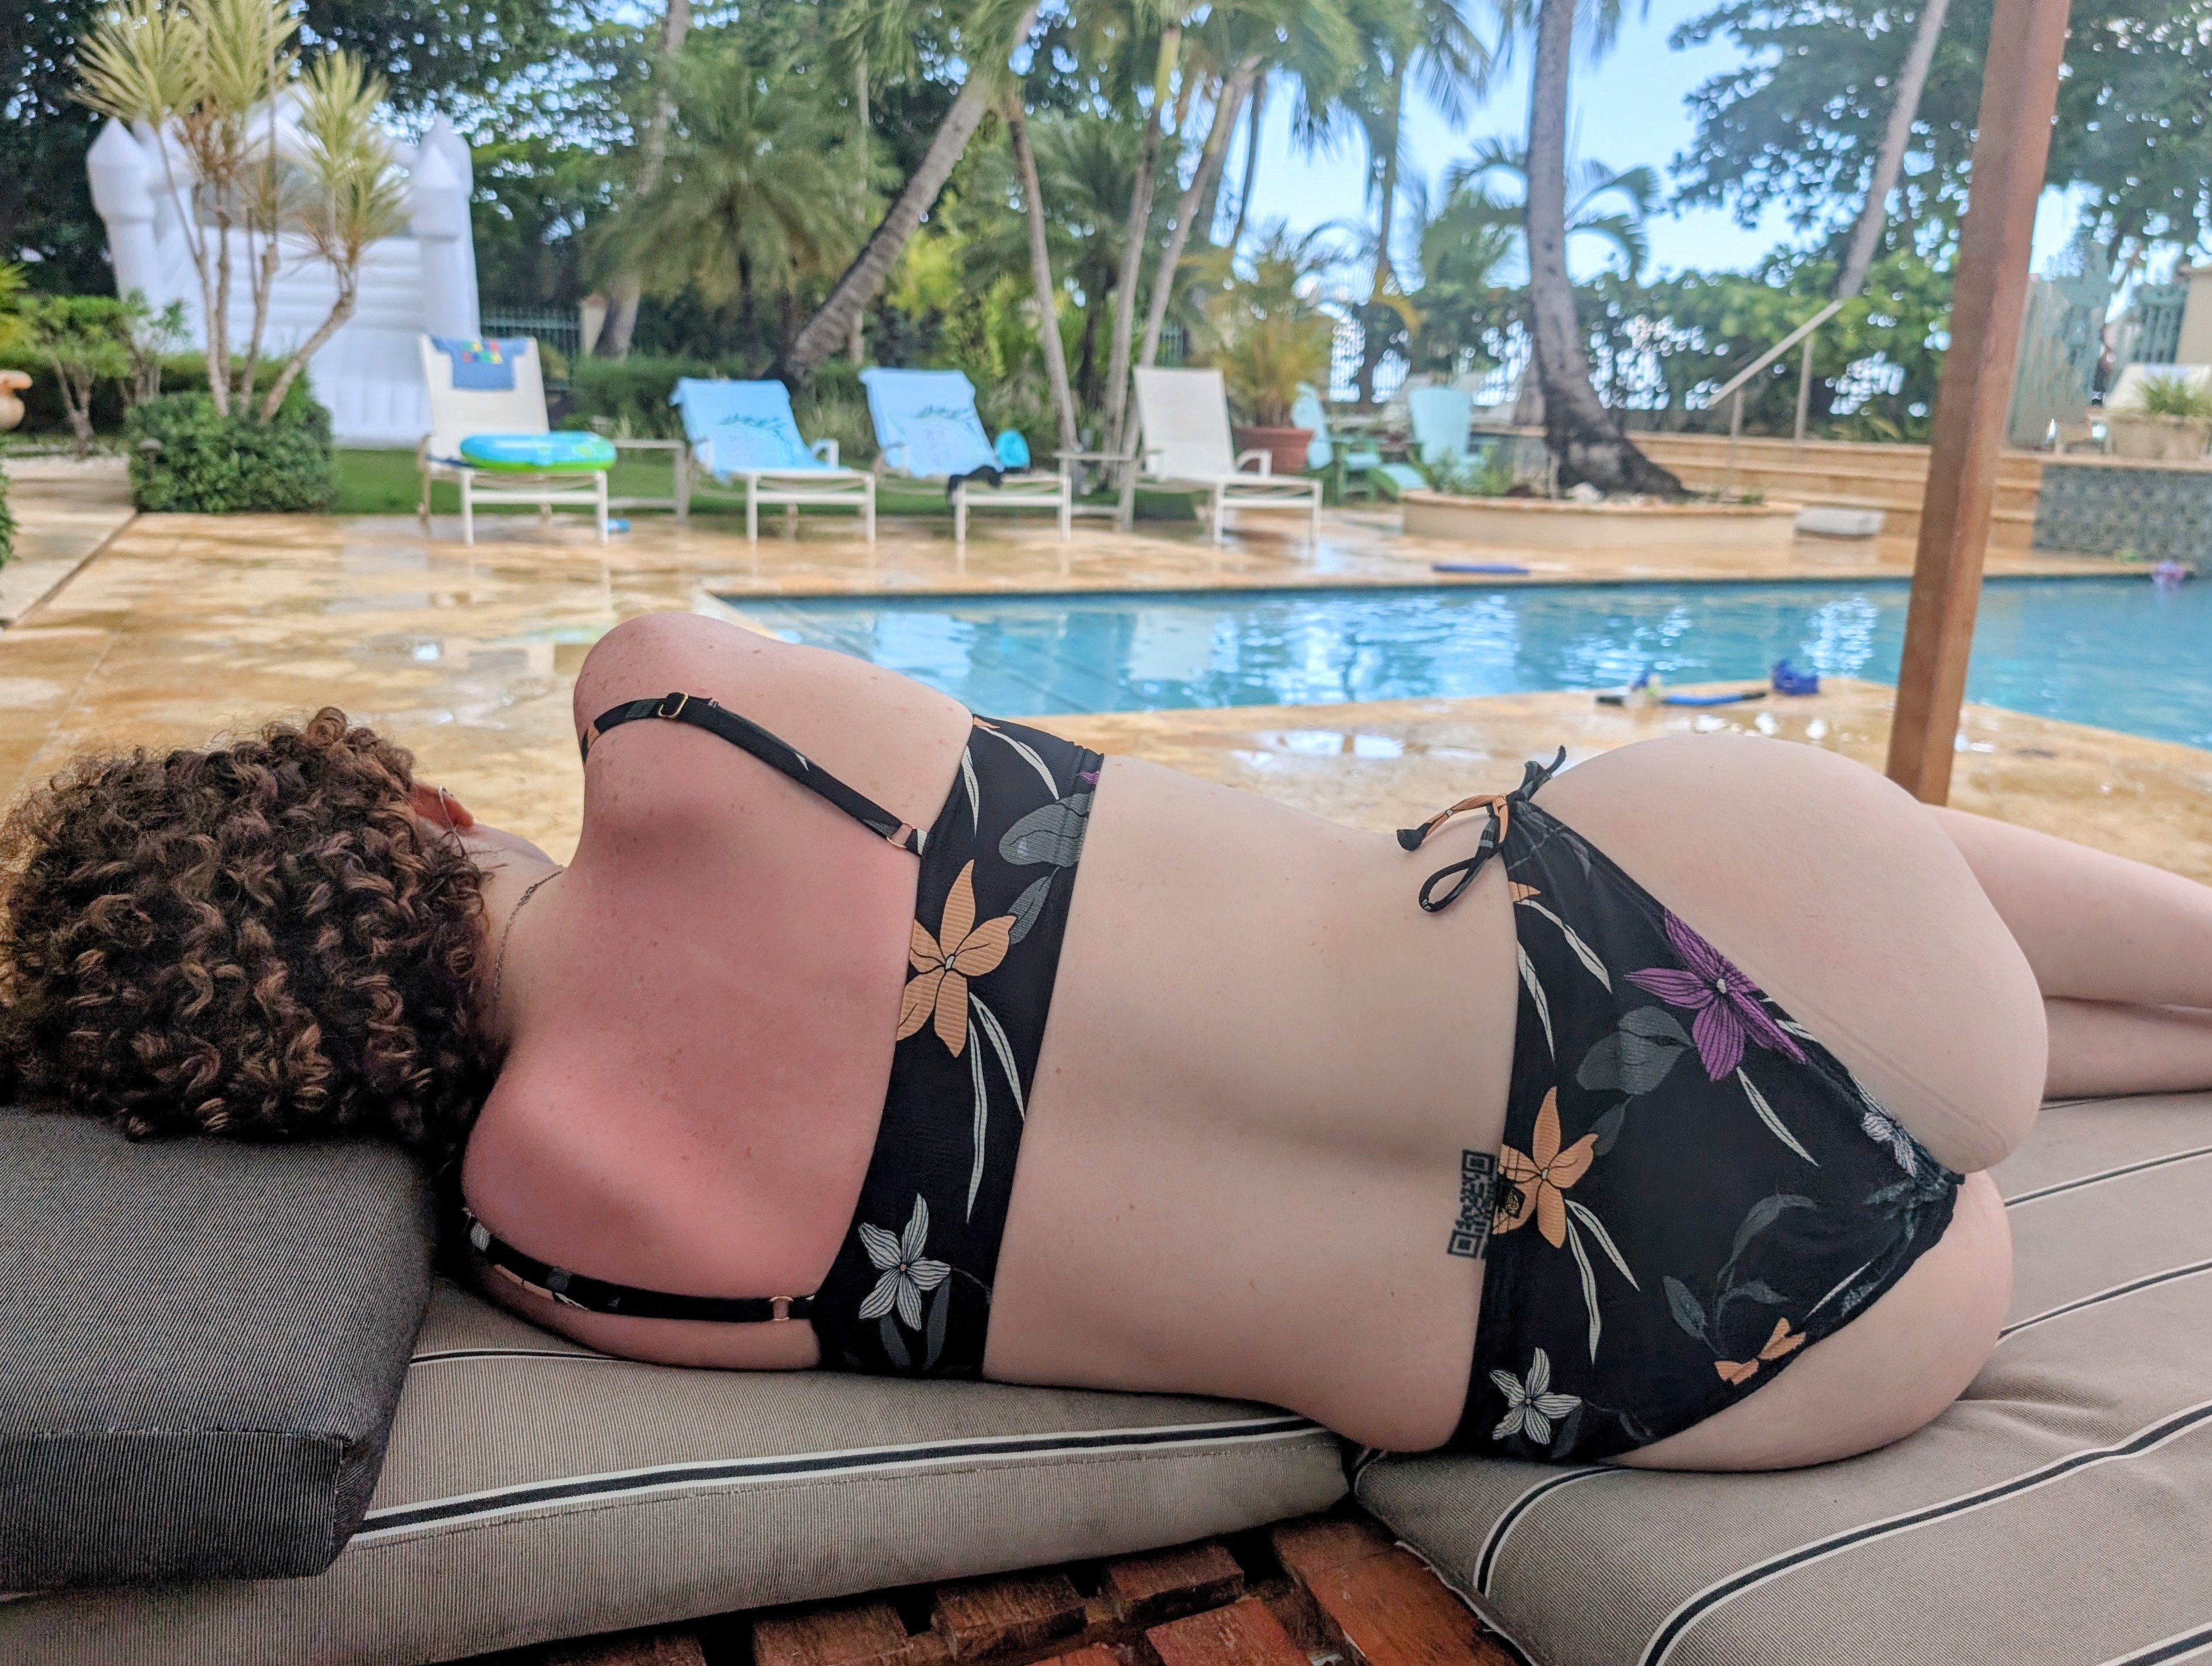
While most people naturally focus on just the subject of a photo, others will pick apart details in the background of photos, as well. Some of these can directly dox you but even those that don’t can still be combined to ultimately do so when they’re taken together.
Information security and privacy specialists call this phenomenon linkability and, again, the best defense is not to reveal this information in the first place.
What information in a photo or video besides your face can tell people who or where you are? It turns out, more than you might realize.
Street signs are obvious location markers, but clever sleuths can deduce your location by filtering on and then linking indirect details together, like the position of the sun in the sky, visible landmarks, and even the species of flora present in your media. I’ll let fellow privacy educators Naomi Brockwell and Jose Monkey explain:
If you want to get really good at this yourself, try playing a few rounds of GeoGuessr. This game places you somewhere in the world and asks you to figure out where you are.
When done consensually, this kind of digital sleuthing can be a bunch of harmless fun. In fact, I enjoy these sorts of open sources intelligence (OSINT) challenges so much that I made a rather spicy bondage video of myself trying to complete them! ;)
Hopefully, you now have a renewed appreciation and increased understanding of the work required to remain face-in. It may still feel daunting, but the most important tool in your toolbox is simply the discipline to remove extraneous data from your media thoroughly and consistently before you share or post it.
If you have further questions or need additional advice, I may be able to help! I’m genuinely happy to help you level up your privacy game.
Brilliant, bubbly, and beautiful, I don't wait to be entertained; I'll make the first move, get you laughing, and invite you into the moment with grace and without pressure.
It's okay if I'm your "first" because, don't worry, you wouldn't be mine!
Whether seeking companionship is new to you, or companionship with a trans woman specifically, I create a space where exploring our unique chemistry unfolds at your pace.
I love connection—the kind where you feel seen and heard, and deeply. The sort of genuine coupling where our affection lingers in your mind long after we say goodnight.

For me, intimacy is the practice of trust, timing, and tension. Every shared look, touch felt, and word spoken is a deliberate choice, a dance in spaces between confidence and curiosity.
I believe pleasure is most profound when wrapped in the comfort of safety, yet without sacrificing the thrill of adventure. Our connection will be compassionate and cuddly, not chaotic.
I'm bubbly, witty, playful, kind, and unapologetically curious about everything, especially you. Make me yearn for you by being as uninhibited and free-spirited in my presence as I am in yours.
Meet me at my well-equipped private spaces in NYC and Boston, or bring me to you for a rendezvous as limitless as our imaginations.
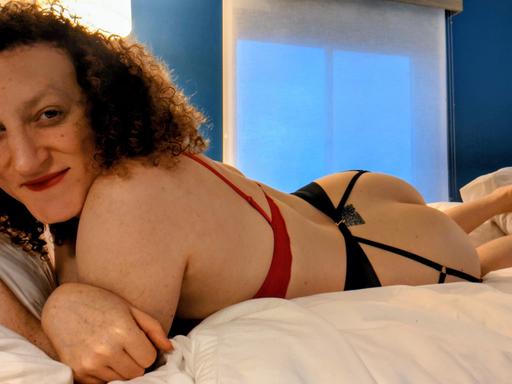
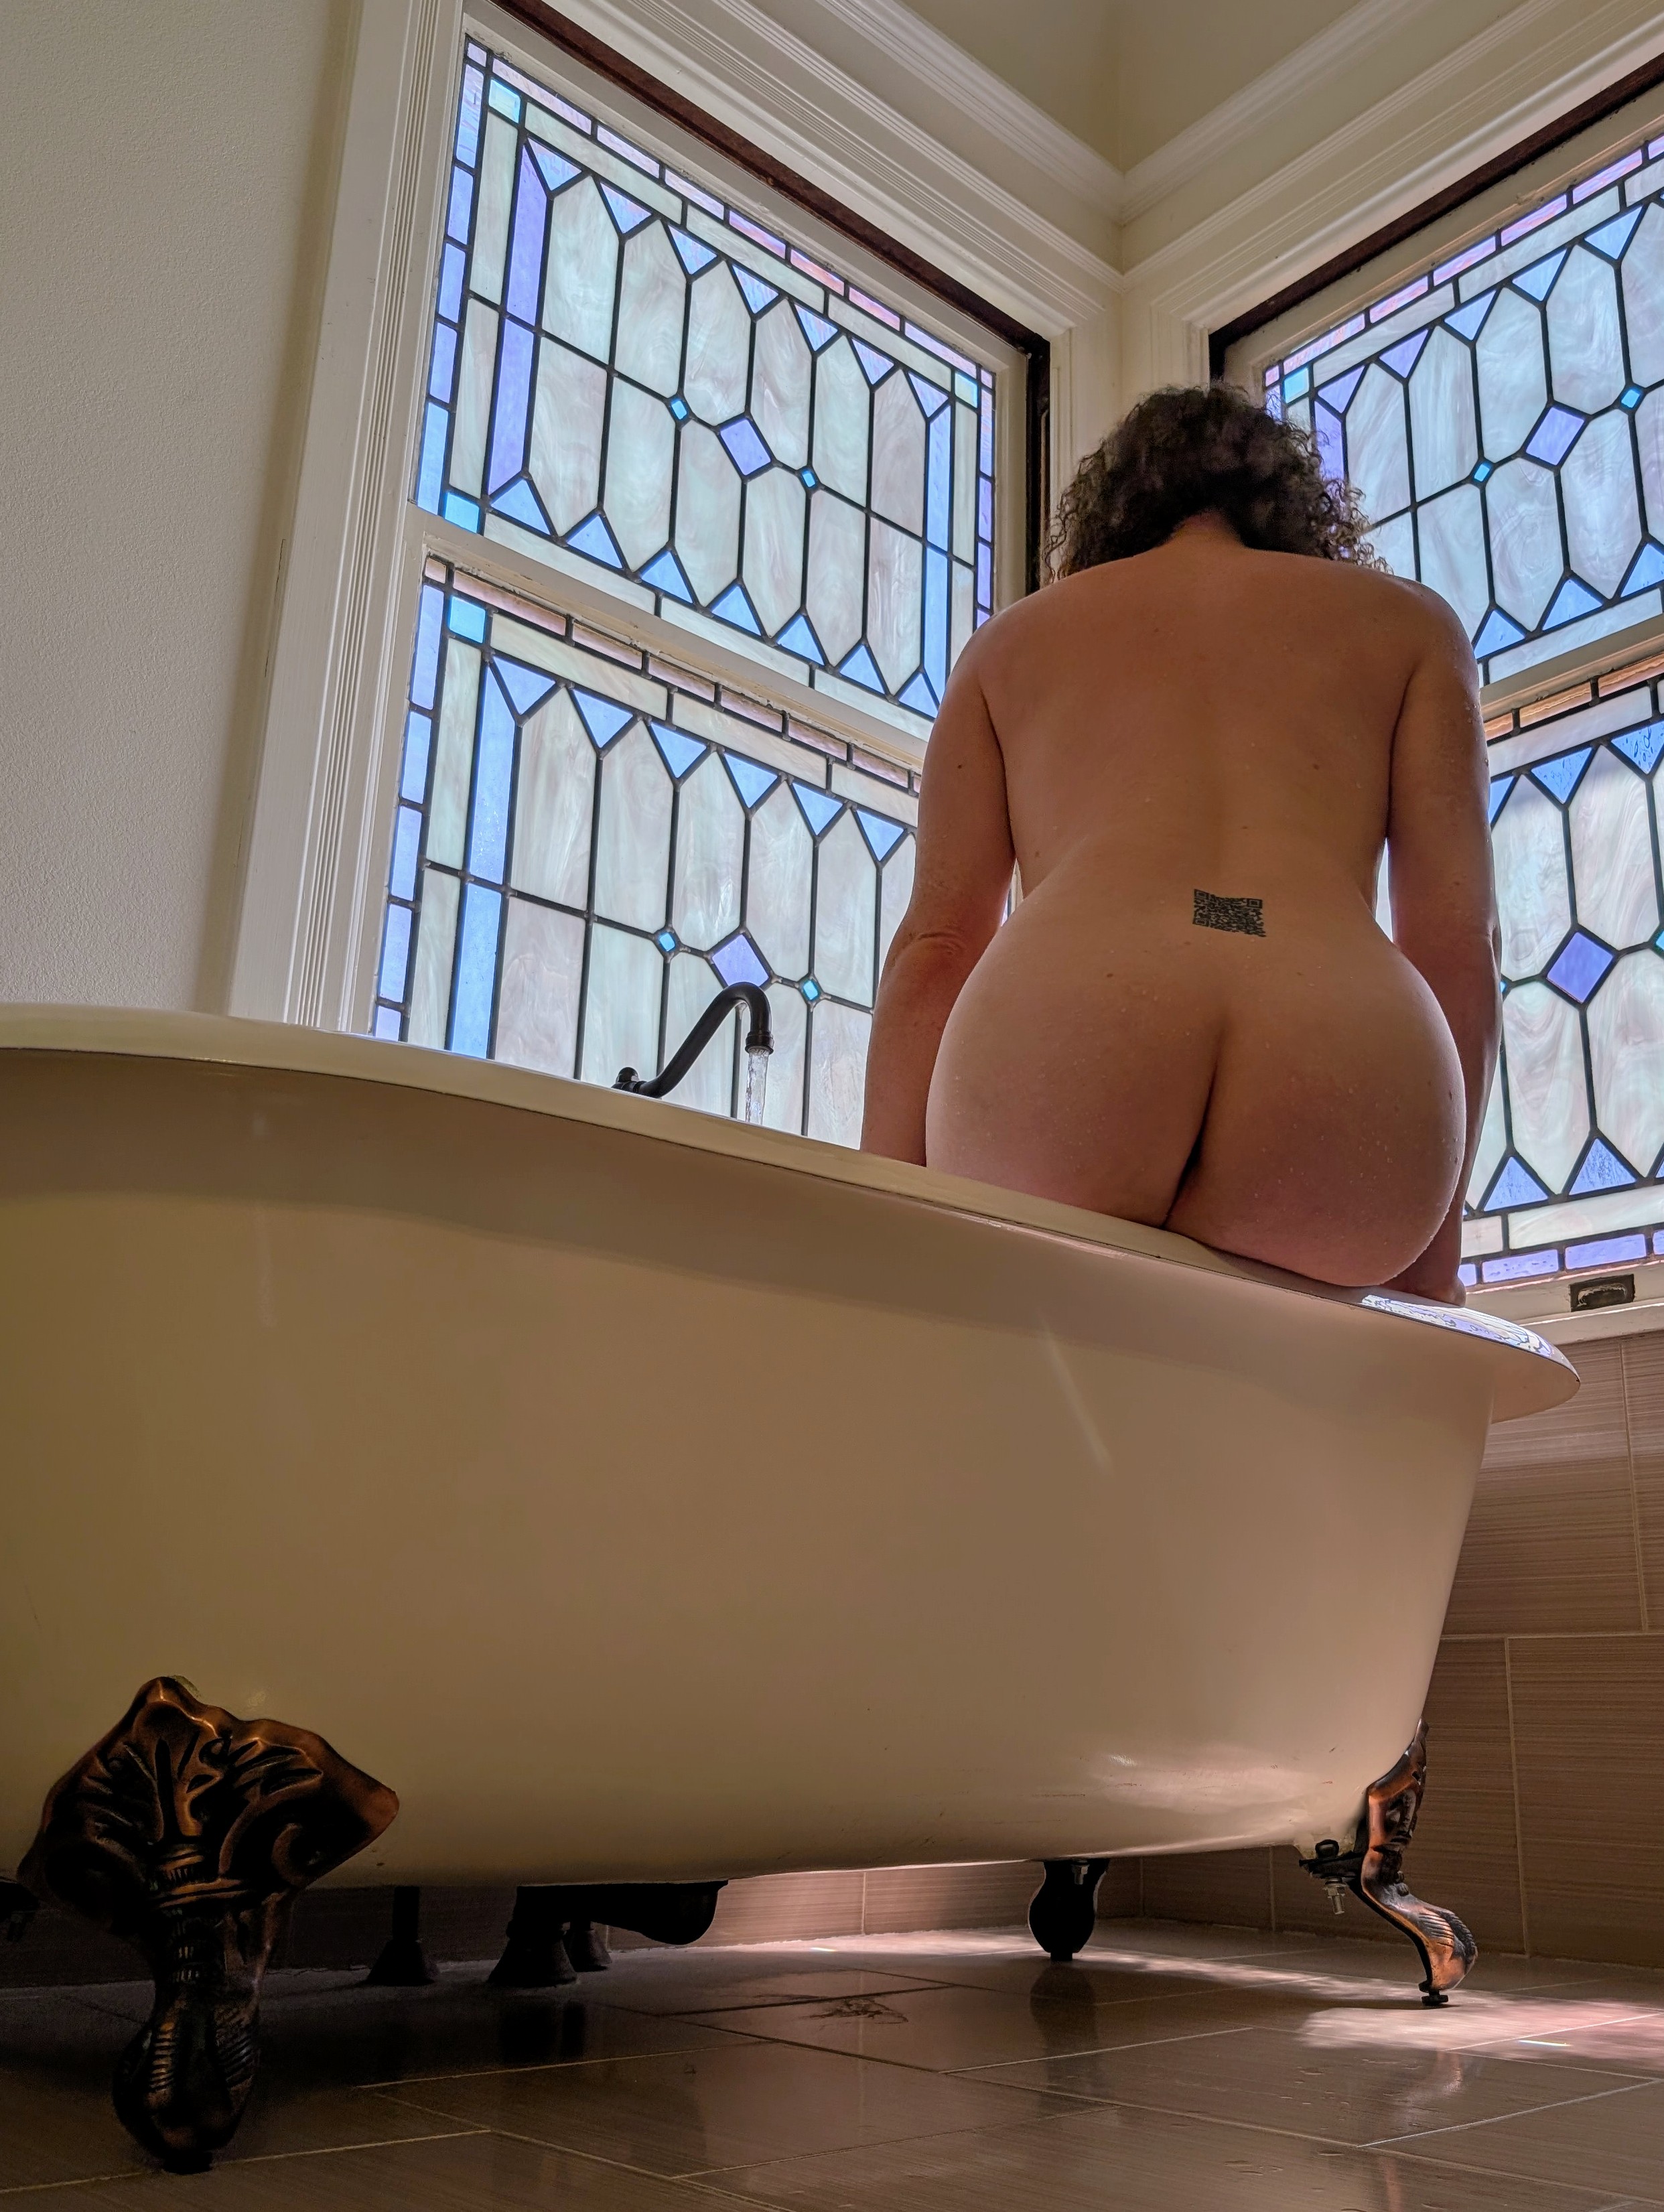
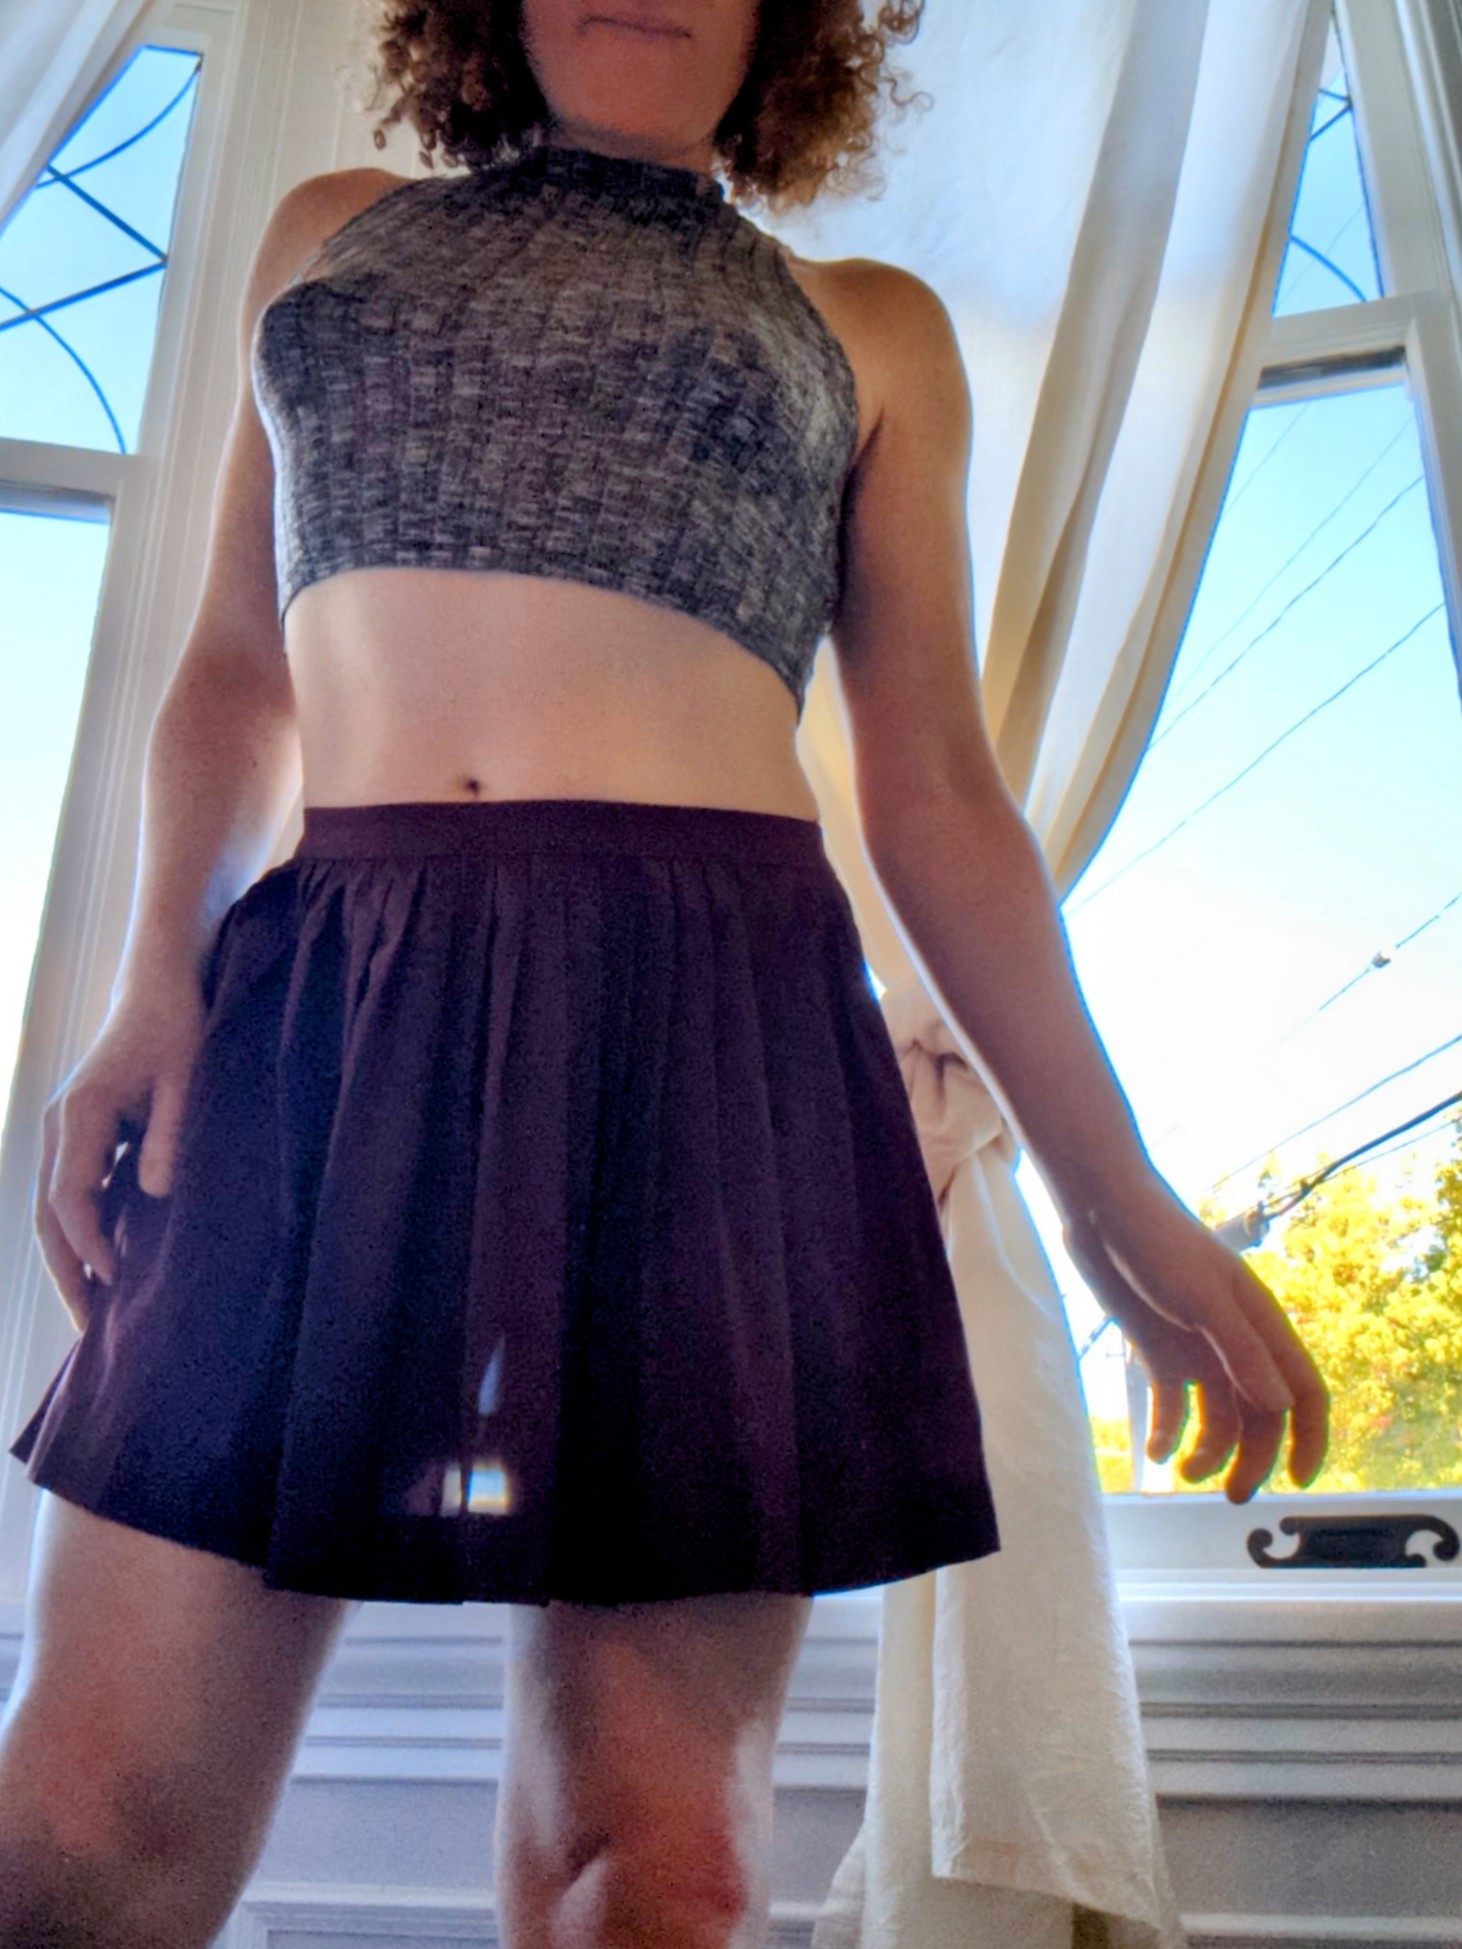
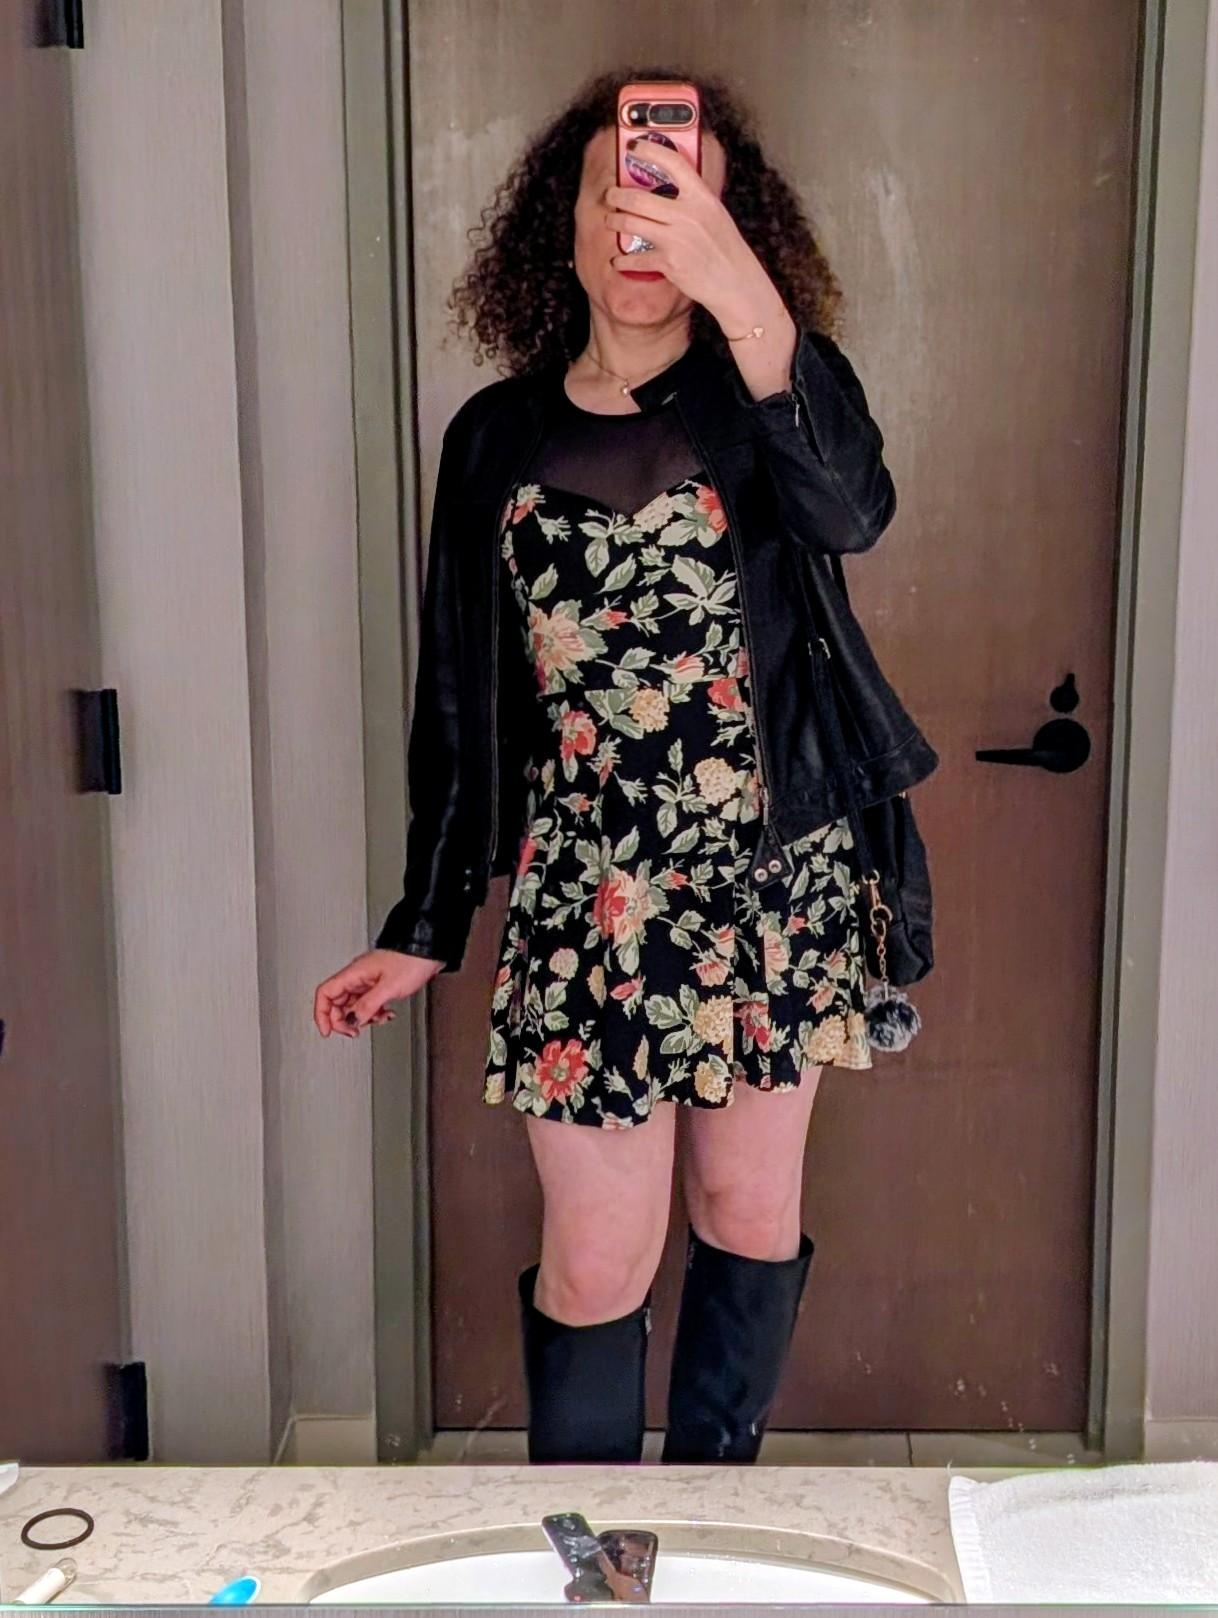
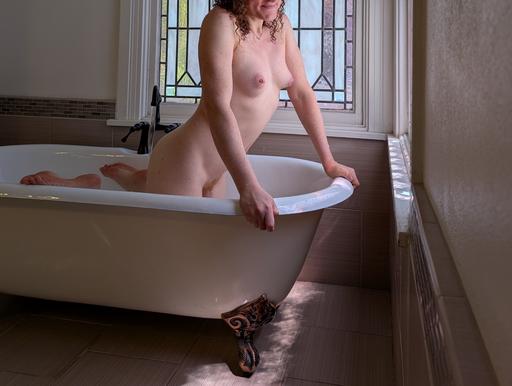
I'm fit, freckled, and fascinated by the way technology, touch, and emotion intersect. I have skin softer than silk and equally soft hair in curly red ringlets, with a mind sharper than a diamond's edge.
Maybe you've guessed: science fiction (Star Trek or Star Wars—I'm not religious!), cyberpunk retro tech, techno beats, and vintage video games are my happy places. There are depths to discover about how I've become "the girl with the QR code tattoo."
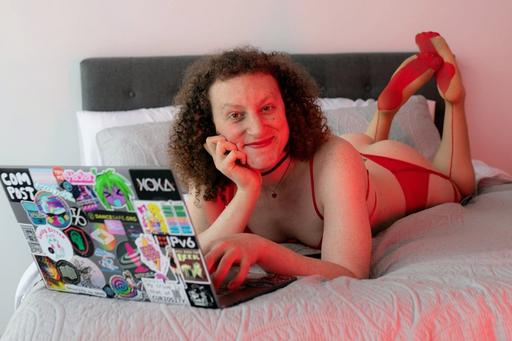
I'm obsessed with projects that keep my brain spinning as fast as my wheels. My current fixation? Navigating cryptocurrency charts and blockchain rabbit holes. I'm the rare girl who appreciates both a perfectly executed API and a perfectly paired wine.
Nerdy? Perhaps. But decoding patterns whets my appetite for discovery…in all its forms.
My candy coating comes in a couple flavors, but poise and courage season them all.
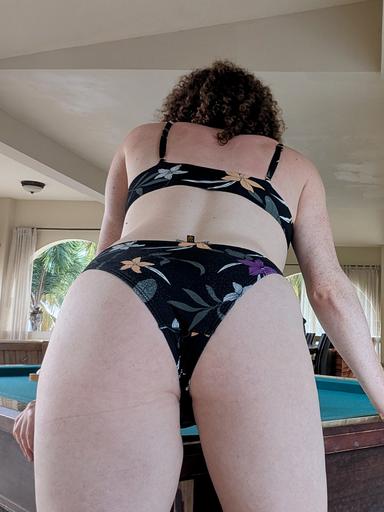
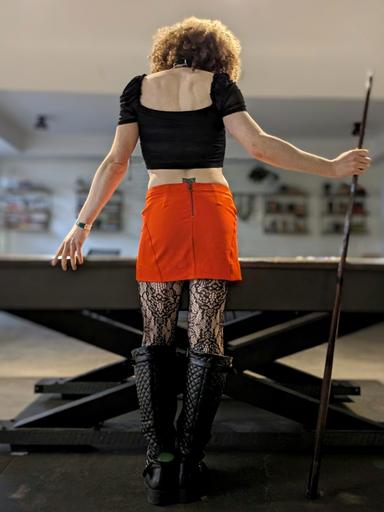
Catch me running the pool table in my skirt—and my skates! Feel how I shift between rooftop cocktails and dive bar mischief.
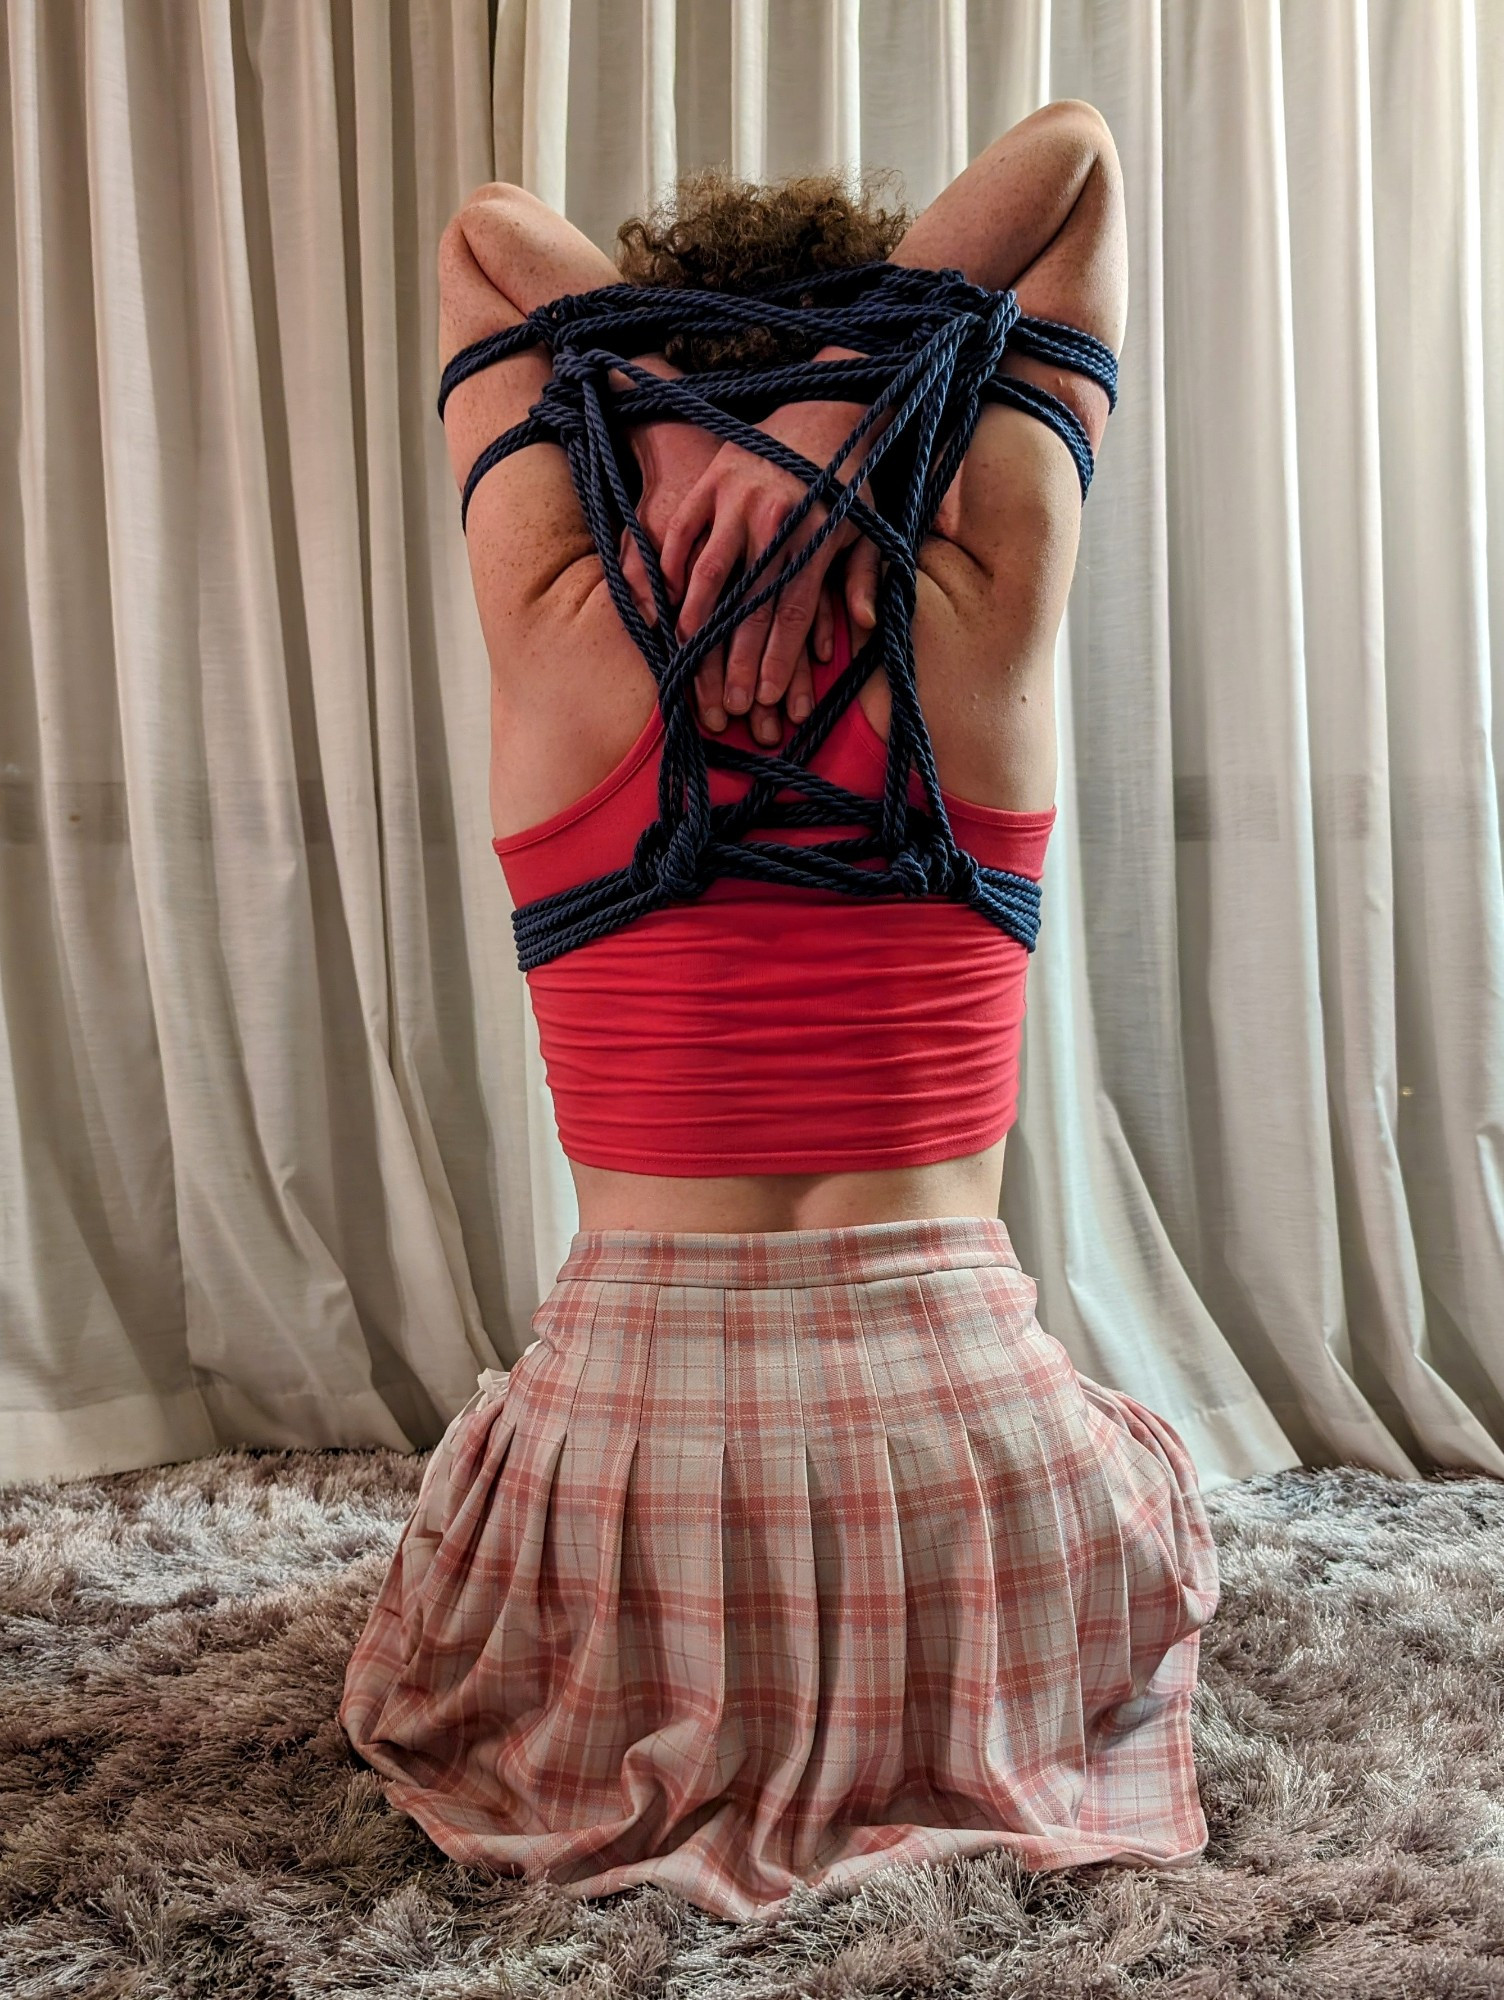
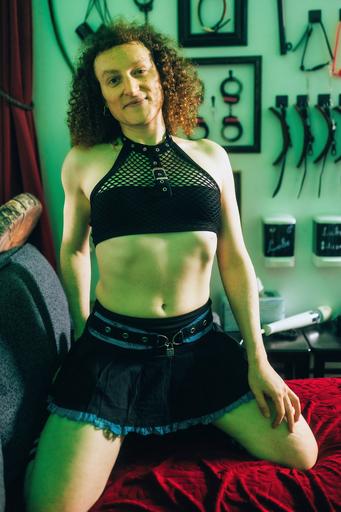
I'm not new to power exchange. I've studied it, lived it, brought it to life in clubs from Brooklyn to Berlin.
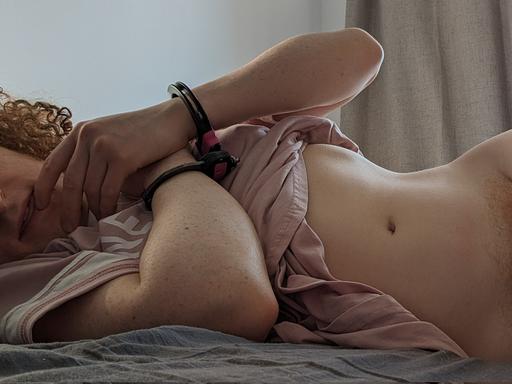
Want to explore your dominant side? I get kinkier than my curls. Years in leather and BDSM circles taught me control and surrender are a language—one I'm fluent in.
Whether you're looking for an oasis of affection, something deliciously darker, or a unique mix of sweetness and spice, I'm your perfect power princess, not a passive pillow princess.
…who thinks as much as you feel, who laughs before they lean in, who appreciates genuine connection over pretense? Maybe it's time you met Brooklyn's Power Princess.
I've gone to great lengths to ensure our relationship remains completely confidential by prioritizing encrypted communications at every opportunity. Learn more about my privacy and discretion guarantees.

| Height | 5 feet, 7 inches (169cm) |
|---|---|
| Body type | Athletic, toned |
| Bra size | 38B (or 36C) |
| Enhancements | None (all natural) |
| Penile appearance |
Circumcised (Full nudity visible in many videos and other content.) |
| Sexual orientation | Enthusiastically bisexual |
| Tattoos | One (learn more) |
| Piercings | Ears, nipples |
| Languages |
|
| Home cities |
|
| Travel/Passport-ready |
|
| NDA-ready | Yes |
Want to see more of me? Find and follow me online via my Links page.
Copyright © by Violet Rollergirl, 2026. All rights reserved.
I offer social-only or virtual (online), GFE, and pro-submissive/kinky GFE companionship.
| Cuddle date Reserve now |
$250 USD
DetailsBig spoon, little spoon, or both? Clothing optional touch without expectation or pressure for more. |
|---|---|
| Social-only date Reserve now |
$200 USD
Details☕️🍻 Casual, zero-pressure meet and greet/meet cute; 🍝 dinner date, 🏸 sporting activity, 🧺 picnic, etcetera.
|
| Video date Reserve now |
$200 USD
DetailsVirtual tryst over private video chat via Signal Private Messenger or WhatsApp.
|
| Curiosity call (30 minutes) Reserve now |
$60 USD
DetailsFriendly, casual audio call to help you decide whether you’d like to book an in-person session, prepare for our date by chatting, discussing any logistics, or simply to quell any concerns.
|
| Video vibe check (10 minutes) Reserve now |
$50 USD
DetailsQuick video call used as an alterantive to traditional screening methods.
|
| Custom photo/video Order now |
$50 USD
DetailsA photo or video made just the way you like it.
|
| Texting (30 minutes) Reserve now |
$40 USD
DetailsPerfect for dipping one’s toe into what our unique chemistry is like. I also offer longer texting packages for those who appreciate a good textual tease. Start here and inquire within. :) |
| Fan site (monthly subscription) Inquire now |
$15 USD
DetailsAccess to exclusive content on my 🌶️ sites. |

| 6 hours Reserve now |
$2,100 USD
Details
|
|---|---|
| 4 hours Reserve now |
$1,500 USD
Details
|
| 3 hours Reserve now |
$1,200 USD
Details
|
| 2 hours Reserve now |
$875 USD
Details
|
| 90 minutes Reserve now |
$700 USD
Details
|
| 1 hour Reserve now |
$500 USD
DetailsDedicated playdate.
|
| Overnight (~14 hours) Inquire now |
$3,500 USD
DetailsPerfect for an evening full of cuddles, or sprinkled with light fetishes like spanking and modest restraints.
|
| Getaway weekend Inquire now |
$5,000 USD
DetailsParty hard, play harder! I’ll be all yours for two full days (except for some solo moments to let us freshen up for one another in our mysterious ways), so you can enjoy a weekend escape with me.
|
| 3 hours Reserve now |
$1,680 USD
DetailsExplore your dominant side.
|
|---|---|
| 2 hours Reserve now |
$1,225 USD
DetailsExplore your dominant side.
|
| 1 hour Reserve now |
$700 USD
DetailsExplore your dominant side.
|
My rates for incalls and outcalls are the same. An additional incall fee may apply at some of my incall locations or to cover hotel arrangements. As transportation costs for outcalls vary greatly, they are also not included in the fee schedule.
Each in-date extension equals my base hourly rate for the booked service (e.g., 1 hour). Please inquire about rates for content shoots or collaborations, longer multi-day dates, travel to/with you (“TMTY/FMTY”) bookings, or ongoing arrangements. I accept numerous payment methods.
I accept deposits via dozens of cryptocurrencies (e.g., ZEC preferred, XMR, USDC, BTC, ETH, and dozens of others accepted), major debit or credit cards, some gift cards, or select privacy-preserving payment apps. (Which ones?)
A deposit also entitles you to an optional, free curiosity call enjoyed a minimum of 48 hours before our scheduled date.
Deposits are non-transferable and non-refundable, except in the rare case I must cancel our date, but they can be applied to another date should you need to reschedule. (See my cancellation policy for details.) Our time together is confirmed only after I receive your deposit.
It's okay, you can always cancel or reschedule a date for any reason, no questions asked. If you cancel with:
I'll send you a reminder before our date so you have time to reschedule if needed.
I honor reapplied deposits for up to 3 months into the future. Past deposits cannot be used as a deposit again. They only apply towards the next date's fee, not their deposits; each booking unconditionally requires a deposit to reserve my time.
In the rare event I'm forced to cancel our date, I'll offer to promptly return your full deposit to you and will make every effort to give us another opportunity to meet.
(Please note that I accept patronage for my time and companionship only.)
I’m driven by novelty and curiosity, so I’m already eager to meet you. Yes, you. (First time? Read this.)
Booking is fastest through my assistant, Rose. If you need extreme discretion, you can reach me directly.
If you need an even more discreet touch, reach out to me directly using the form below. Please be patient as it may take me a day or so to reply.
Please feel free to save my contact card and write me anytime.
I strongly prefer encrypted messaging via Signal Private Messenger. (You’ll earn a $40 USD discount off our first date if you book entirely over Signal as a thank you for helping to protect your privacy and mine. Learn how to earn more discounts….)
Please be patient as it may take a day for me to reply.
In the meantime, explore the Good Client Guide and the Satisfaction Project for more helpful advice about how to prepare for your date with a provider like me, or have a look at some of my hot friends.
When reaching out to me directly to book, please include all of the same information that my booking form asks you to provide to receive a reply. If you don't hear back from me, or if I direct you back to my assistant, it's probably because you didn't include the information I need to book you.
Occasionally, I send cute updates and neat announcements to friends and lovers via my newsletter. This includes information about upcoming tours, a range of special social and industry-adjacent events, and even the rare special discount or deal. Subscribing is optional, free, never X-rated, and you can unsubscribe at any time.
(Subscribing to my newsletter requires a double opt-in confirmation. When subscribed, you agree to provide some light telemetry as part of industry-standard analytics. If you want to receive tour information more discreetly, please view or subscribe to my tour calendar, instead.)
Please read my etiquette policies and be sure you understand my availability and rates before writing.
You may also want to review my “do’s and don’ts” for making first contact. My FAQ page can also allay any concerns you may have.
Especially generic messages are likely to trigger my spam filter or auto-responder; I may not see them.
If you’d like even more handholding, I wrote a thorough step-by-step Booking Guide just for you!
My booking form can help you write a message that includes all the information I need from you for us to meet. When writing me, always include:
Here are some things to keep in mind when writing me. Please:
| do… | do not… |
|---|---|
| include all the information I require of you to schedule your booking in your very first message, including your screening information. I may not reply to messages that lack any piece of info requested by my booking form. | write only “hey,” or omit any of the requested information. If you're wondering why I'm not replying, it’s most likely because you didn't include something I asked you for. If you're not sure what to write, fill in my booking inquiry form to draft a complete first message to me. |
| mention any specific needs, desires, or concerns you have in a respectful, professional tone. For our mutual safety, I will not reply to explicit or vulgar communication until after you have passed screening because I simply do not know who you are until then. | use sexually explicit or vulgar language. I understand the desire to clarify or set such expectations early on, but any such discussion must wait until you have passed my screening so that we can speak to each other confident in the knowledge that we are both consenting adults. |
| speak only for yourself, even if you are part of a couple or group; each member of your party must contact me individually so I know everyone is on the same page and consenting. | speak for anyone other than yourself in your party if you are part of a couple or group. |
| be past the age of majority, usually eighteen years of age or older. I only ever see people who are legally considered adults. | under any circumstances, ever contact me if you are or on behalf of a minor. I will cease correspondence with you immediately upon learning that a minor is in any way involved. |
Please do reach out without fear of your gender, race, ethnicity, size, or religion. I respond best to respectful inquiries from individuals or couples who are fueled by my energy, are hungry for intimacy, or eager to shed lingering shames.
Explore the Good Client Guide or the Satisfaction Project for more communication tips and generally useful information.
If we're not yet acquainted, such as when you're writing to me for the first time, you'll need to attach safety screening info or pass one of my alternative safety check processes. (Why?)
I treat your information with the utmost confidentiality, as discretion and screening helps assure our mutual safety and comfort.
To successfully screen, complete any one (1) of the following requirements:
Messages that lack screening information may not receive a reply. If you need help writing an inquiry, use my booking form to draft a completed one. I'm looking forward to hearing from you!
As an extrovert with a chronic case of wanderlust, I travel frequently and sometimes suddenly. My travel calendar is updated from time to time, and reflects my best estimate of where I’ll be. Planning ahead is the best way to ensure I’ll make availability for you.

You can bring me to you by booking a date. As a general rule of thumb, with advanced scheduling, I'm passport-ready and available to travel:
Similar to outcalls, I can itemize travel expenses and will ask you to cover them up-front.
As I have autonomy over my time, with proper planning I can often be available at most times of the day or night. That said, I’m not a morning kitten, and planning our date 2 or more days in advance will give us the best experience together. I'm discerning and selective, so while same-day sessions are possible, I always prioritize returning friends and longer bookings over short-notice quickies with new friends.
I can host us in my home cities…
Showers () and easy parking () are available at all my incalls in both cities.
If you would like to host:
If you're unable to host an outcall, I'm happy to arrange a hotel meet (with minimum 24 hours notice) for an additional cost of the hotel reservation. I can itemize this charge, and it will be included in your deposit.
Suitors who want to really impress me should consider adding an amount with which to tip the hotel's housekeeping/maid service. (I notice when people don't tip, and I will in their stead.)
My affinity for spontaneity makes same-day trysts occasionally possible IFF seeing one another is convenient for me. When booking with short notice (less than 24 hours), please keep in mind:
Occasionally, I publish last-minute availability on social media; my Links page shows you where you can find and follow me online.
Ways to send a tip, donation, or to pay me. (View all.)
Places you can find, follow, or fap to me online.
The freer X/Twitter alternative. (You’ll want to enable NSFW content, trust me.)
Subscribe for access to my archive of spicy content. (No PPV.)
All my content banned from OnlyFans! Solo, b/g, g/g, threesome, fetish, and bondage videos.
Buy my solo, b/g, g/g, threesome, fetish, and bondage videos.
Watch me in unscripted lesbian porn produced by an all-Sapphic team, and sign up via my referral link.
View my verified ads at independent escort malls.
All the rest that’s fit to print. I’m much more than meets the eye.
Spoil me. :)
Quick-access to payment info including guides for getting started with cryptocurrency and its privacy benefits as a client or customer. (Provider crypto guides also available!)
More health info for in-person meets. Requires Tor Browser to view.
When choosing a companion, especially for the first time, you may have some questions! A lot of these questions get asked very frequently, so I’ve gathered them here to make my answers easier for you to find, and easier for me to reference when needed.
Spending quality time together one-on-one is lovely, but I'd be remiss not to introduce you to some of my stunning friends. So if you're looking for even more plug and play fun, I can coordinate threesomes (or moresomes) in a range of configurations with the extraordinary providers I list here. And please let me know if you'd like to see me with a provider who isn't listed. We could develop an expansion pack together….
Silly and sassy rollerblading adventurer. Tattooed and travel-sized companion. Sexually verse. Always dominant. As seen in porn tying and locking up cute subby trans girls.
Playfully controlling and seductively sadistic, Master Apex is that rare BDSM dominant who is at once devious and mischevious yet empathic and caring. Apex draws out your darkest desires, and is unmatched at turning Hell into Heaven—and back again.
Fun, suburban, tatooed firecracker with an artistic bent and DIY punk spirit. A playful and sophisticated playmate bringing the spark of chemistry everywhere she goes.
Petite, quick-witted, and genuinely engaging, Emberlyn loves people who think, who feel, who show up with kindness and an open mind. She is someone whose intellect and warmth is worth getting lost in, and a joy to explore together.
Big, handsome Dom who loves to share my kinky fun and action with you. Kinky, flirty, affectionate, bi (top), giant of a man.